Much of what you say is music to my ears. Lens assembly is a complex issue. Want to see how this is done. Looking forward to.
1 Like
can you tell us the complete procedure to make it and bill of material
1 Like
Can me something like stereo desection microscopes. It will be very useful to take pictures of flies, c elegans, rotifers in well plates, earthworms etc… Coz lots of colleges do not have these.
4 Likes
Stereo would be particularly difficult. But can be done.
However for stereo dissection one will require either a PC / laptop with a good graphics interface.
OR a NVIDIA Jetson.
3 Likes
Complete instructions are already mentione here.
Get hold of a web cam and post its image so that we can figure out the next steps.
2 Likes
@ABHISHEK_CHANDRAKAR Here is my webcam.
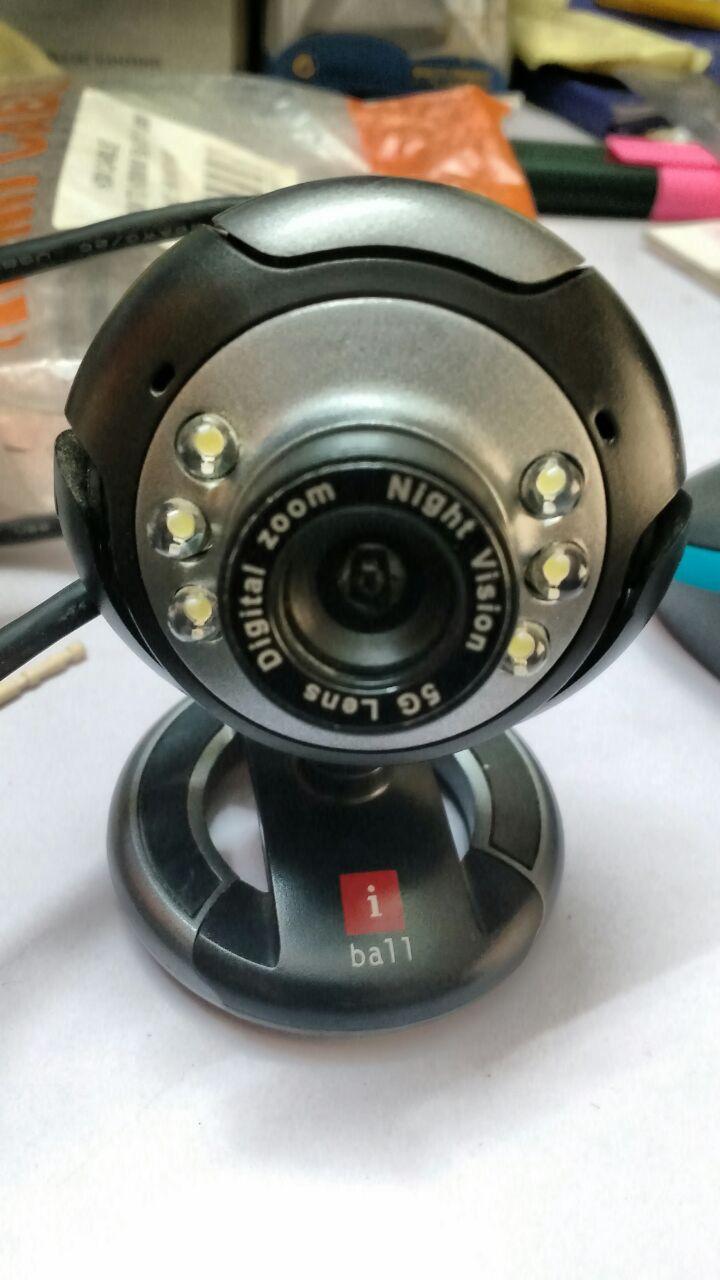
It is IBall webcam. As far as I remember it is a 12MP camera.
It has a swivel base. I can almost tilt it 90deg to face upwards.
The cable protection on the rear of the camera protrudes a bit. If I trim the cable protection I might be able to use the stand as a base.
4 Likes
I am sure this is perfect for the microscope. Next step is to open the camera to reverse the optics. Most important precaution while doing so, is to ensure that no dust falls on the CCD I side. Share the pictures while you do this.
2 Likes
Unfortunately no.
See this pic below
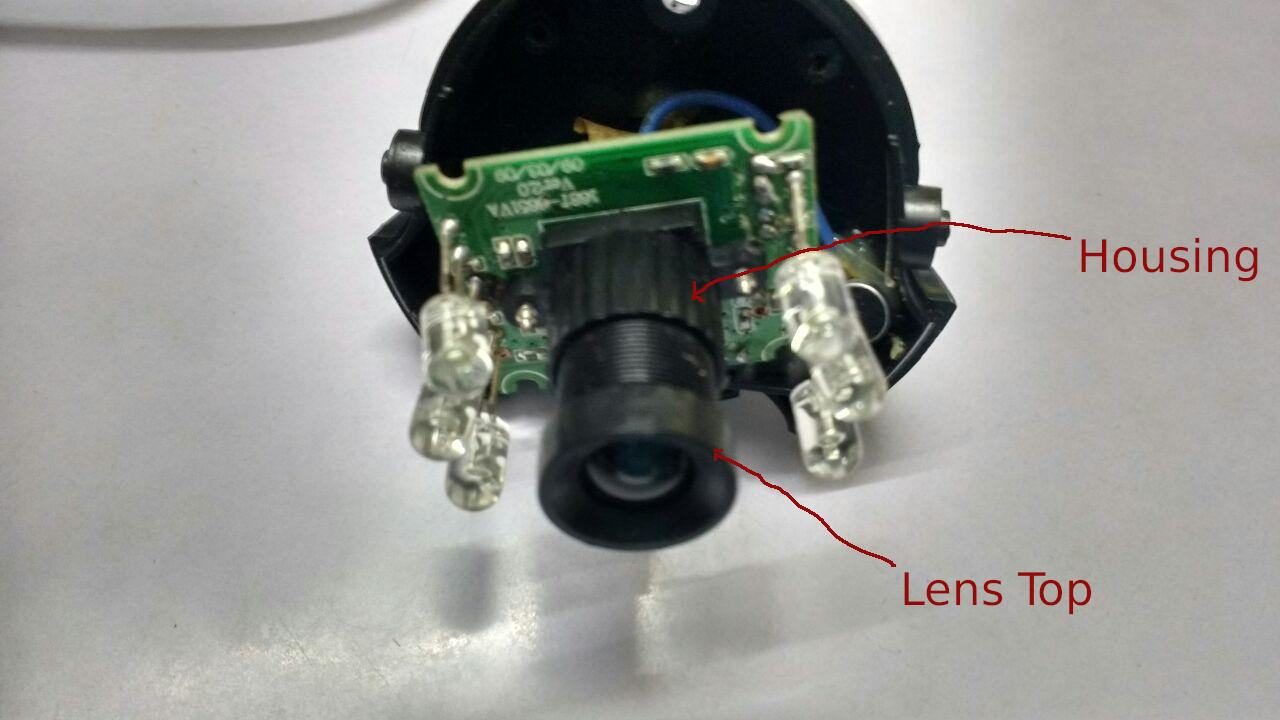
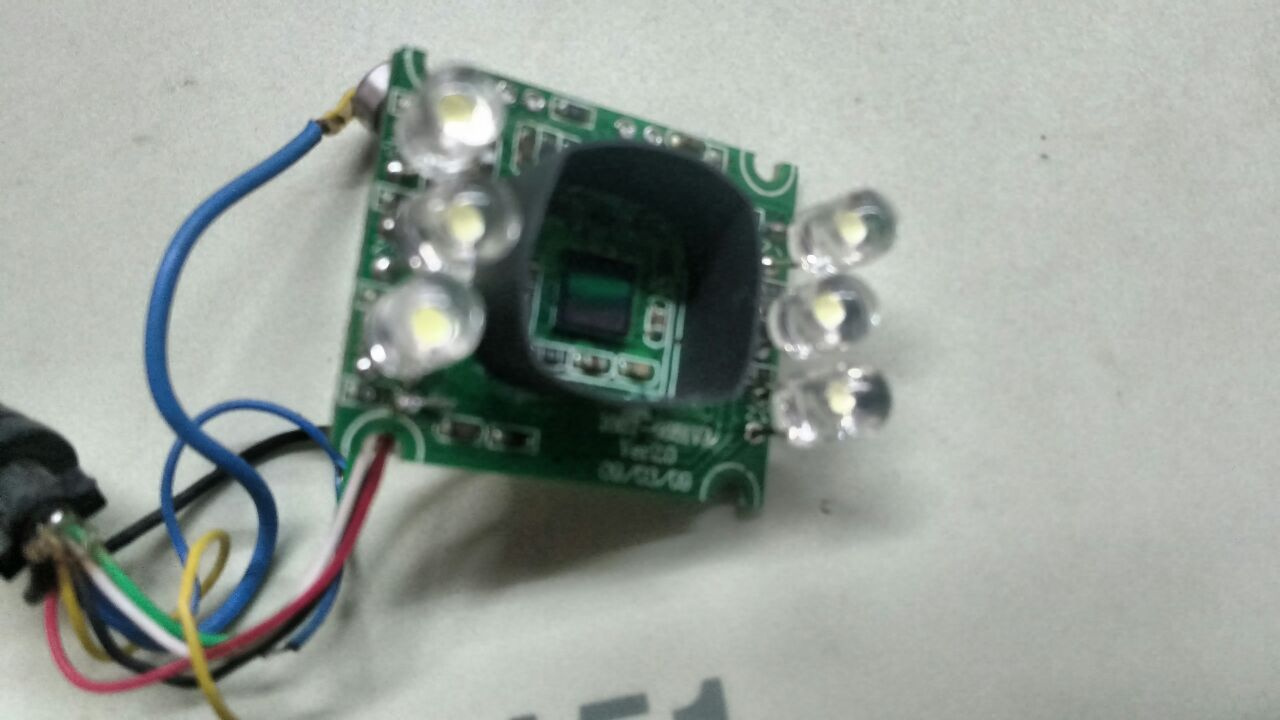
A reasonable quality webcam will have a CMOS imager housing similar to that shown.
Such cameras also have a lens with a top cap.
The lens top cap will not fit into the housing. Hence the lens cannot be reversed.
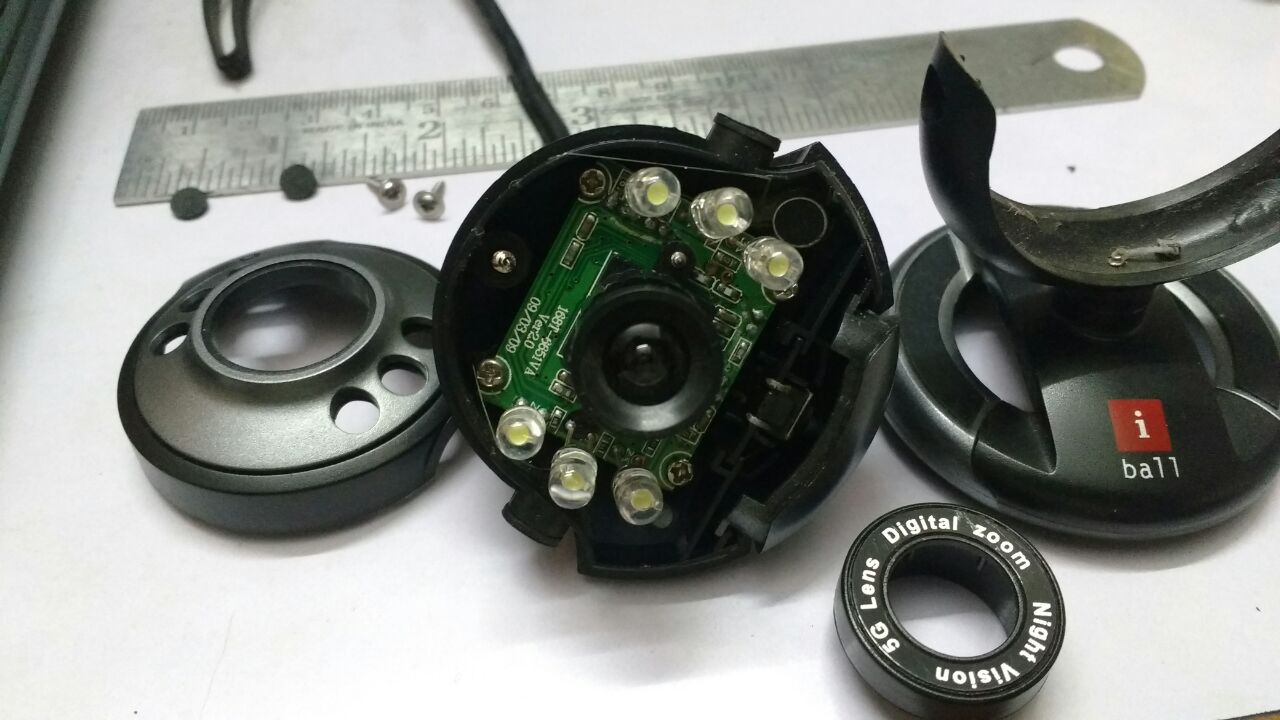
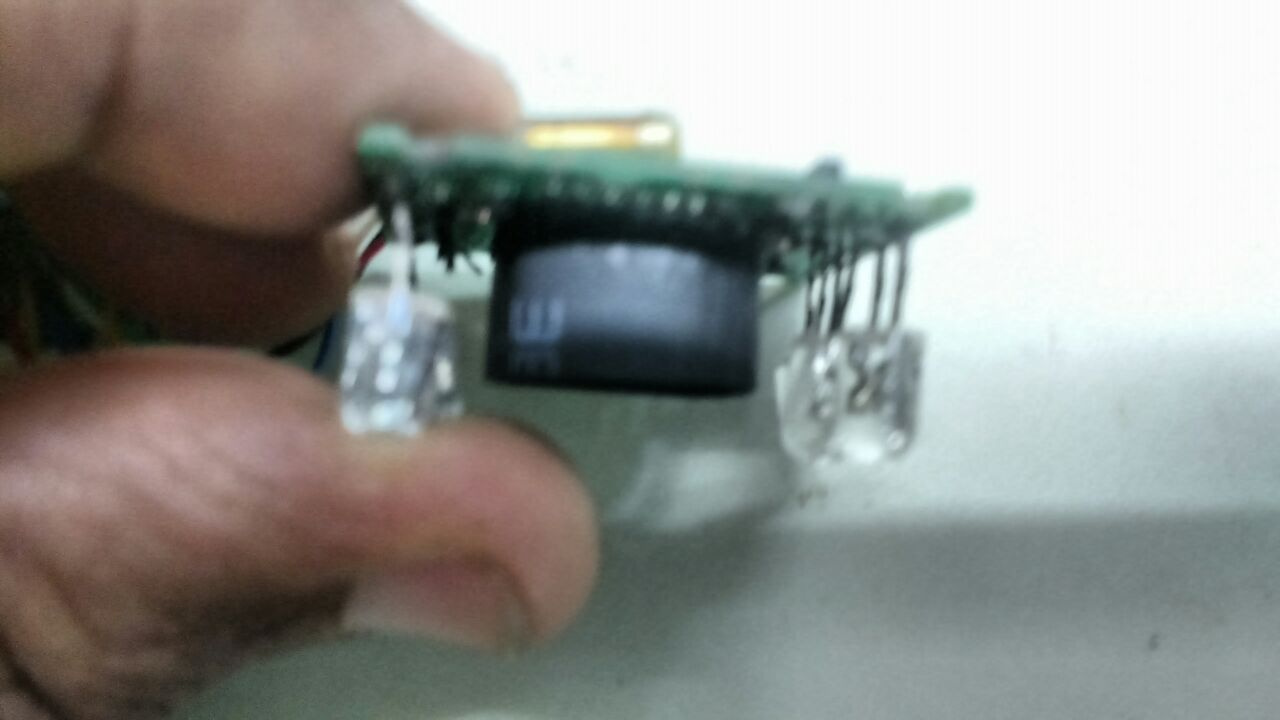
Old CCD cameras had a metal barrel with the top cap screwed on. One could remove the top cap - with some difficulty. However removing top cap will cause the lens elements to fall out. Hence one has to glue the top element. Notice the added glue on the rim in the pic below.

Unfortunately this lens has much lower magnification. Hence not suitable for our purpose.
Will check the possibility of 3d printing a replacementr housing suitable for our purpose.
5 Likes
This is a wonderful feedback on the webcam. This calls for a guide on how to choose a webcam for the DIY microscope project.
1 Like
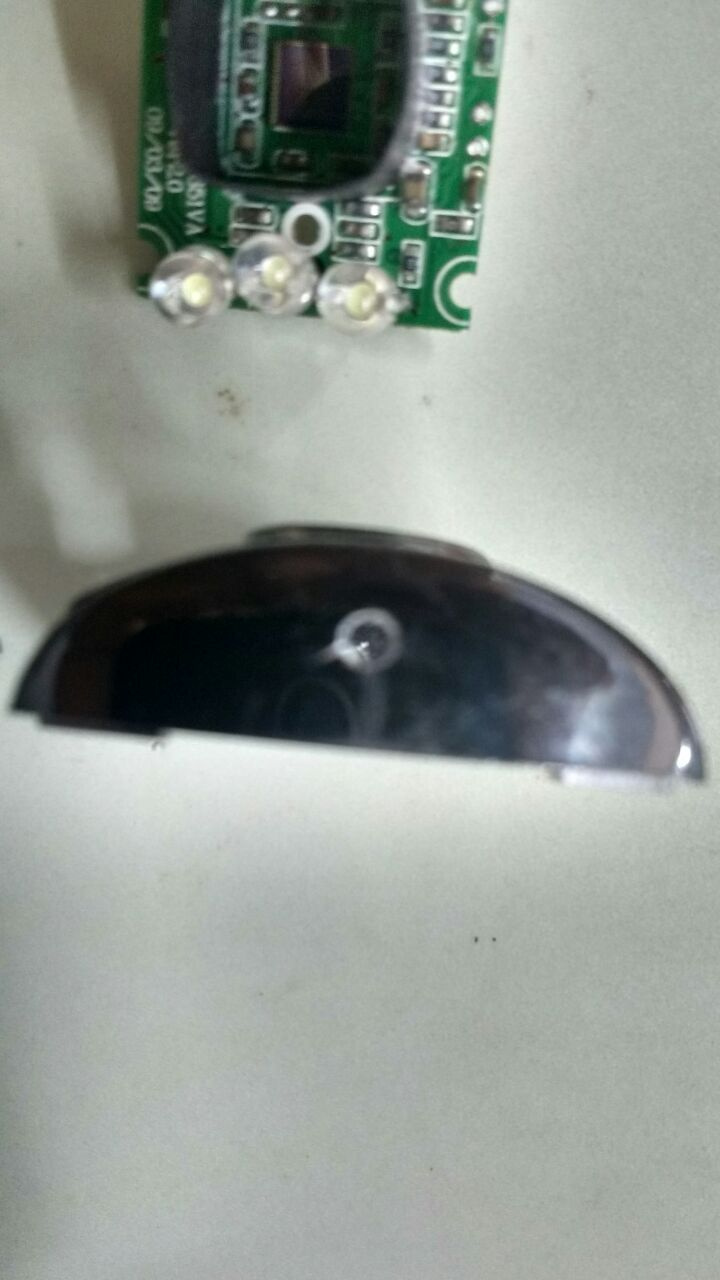
Since the cmos imager housing prevents fitting the inverted lens , I removed the imager housing.
The housing is 13 x 13 mm.
The housing apart from holding the lens prevents stray light from falling on the imager.
We must now rig a housing to block stray light and hold the lens.
Separating the lens mount and stray light blocking will ease our work.
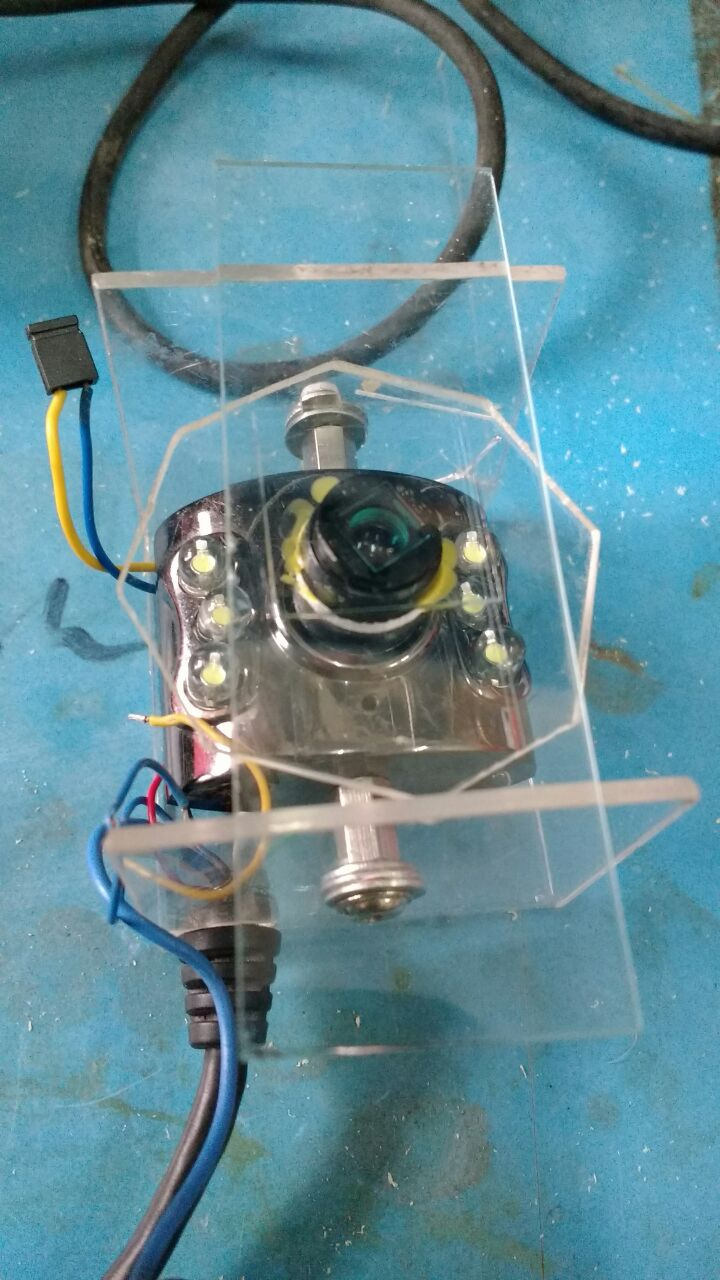
The perimeter of the housing is 52 mm. A piece of Heat Shrink Tube https://en.wikipedia.org/wiki/Heat-shrink_tubing 20 mm dia provides a perimeter of 62 mm. IT fits okay with a little glue.
![image|690x388]
For the lens mount we reuse another 2mp webcam housing. We drill two holes for mounting.
The whole assembly is held in a piece of acrylic bent into a C.
1 Like
So, you worked really hard to make a difficult-to-work webcam into a workable cam.
Also, I want to know how long the process took for you?
1 Like
2 days of intermittent work. Roughly 10 hours.
2 Likes
Considering that you made a housing, stage, adjustable focus, lighting this is a great achievement.
So, if I have to do it myself I need to keep Rs.500/- for the webcam and 2 days to work to get a microscope for myself.
If I am not asking for more, a short video that shows how it is used by you will be a great addition to this thread.
2 Likes
Water flea and a worm.
5 Likes
Will do that tomorrow.
3 Likes
Video is not opening @jtd
1 Like
I just checked. It is opening.
1 Like
It is working at my end too!
1 Like
The stand is made from a strip of 2mm acrylic. We can use polycarbonate (lexan) or pvc strip. Transparent Acrylic is preferred so that ambient light provides sufficient illumination.
The slide has to be approx 5 mm above lens.
The lens + camera height is approx 23 mm
We add 10 mm clearance below the camera.
Thus the side of the camera is minimum 5+23+10=38mm
We add an additional 2mm thickness of the acrylic Hence 38+2=40mm
Each side =40mm
The bottom has to be the length of the camera 28mm + the 5mm x 2 threaded hex spacers for mounting + 2mm clearance. 28+5+5+2=40mm
The width of the strip is the width of the camera 40mm
Thus our strip length is 40+40+40=120mm and width is 40 mm.
We also need a focusing disc to rotate the lens. The dia is bound by the gap between the two sides ie. the bottom of the mount which is 40 mm.
Therefore cut a strip of 160mm x 40mm. Then cut out 40 mm from one side.
You will now have 2 pieces of acrylic one of 40x40mm and one of 40x120mm.
NOTE: The width of your 10mm wide hacksaw blade will eat up 1.3mm per cut. Hence your Acrylic piece has to be longer by how much?
You have two ways of making the stand - sticking or bending.
If you are sticking, then cut the 120 mm into 3 pieces.
MArk a center line.
MArk center for holes at 23,26 and 30mm from the top on the center line on two side pieces. drill 2.5 mm holes on both pieces. File the small leftover section between holes to create a 3 mm x 9mm slot.
Stick the sides ontop of the bottom piece along the edge keeping the slots vertical.
If you are bending, first mark a center line and on the outer 40 mm sections - the center 40mm section will be the mount bottom.
Drill holes as stated in the sticking section.
Scour the 2 lines at 40 mm to a depth of 1mm using a sharpy knife.
Hold a solder iron horizontally just above the scoured line without touching the plastic.
After around 30 secs the plastic will heat and sag along the scoured line. Bend it the acrylic to 90^o by placing it along the edge of a drawer keeping the scoured line inside the bend.
Repeat for the other 40mm section.
Your mount is ready.
We now have to just mount the camera in the acrylic C shaped camera mount.
5 Likes