The Multipurpose Wooden Boxes
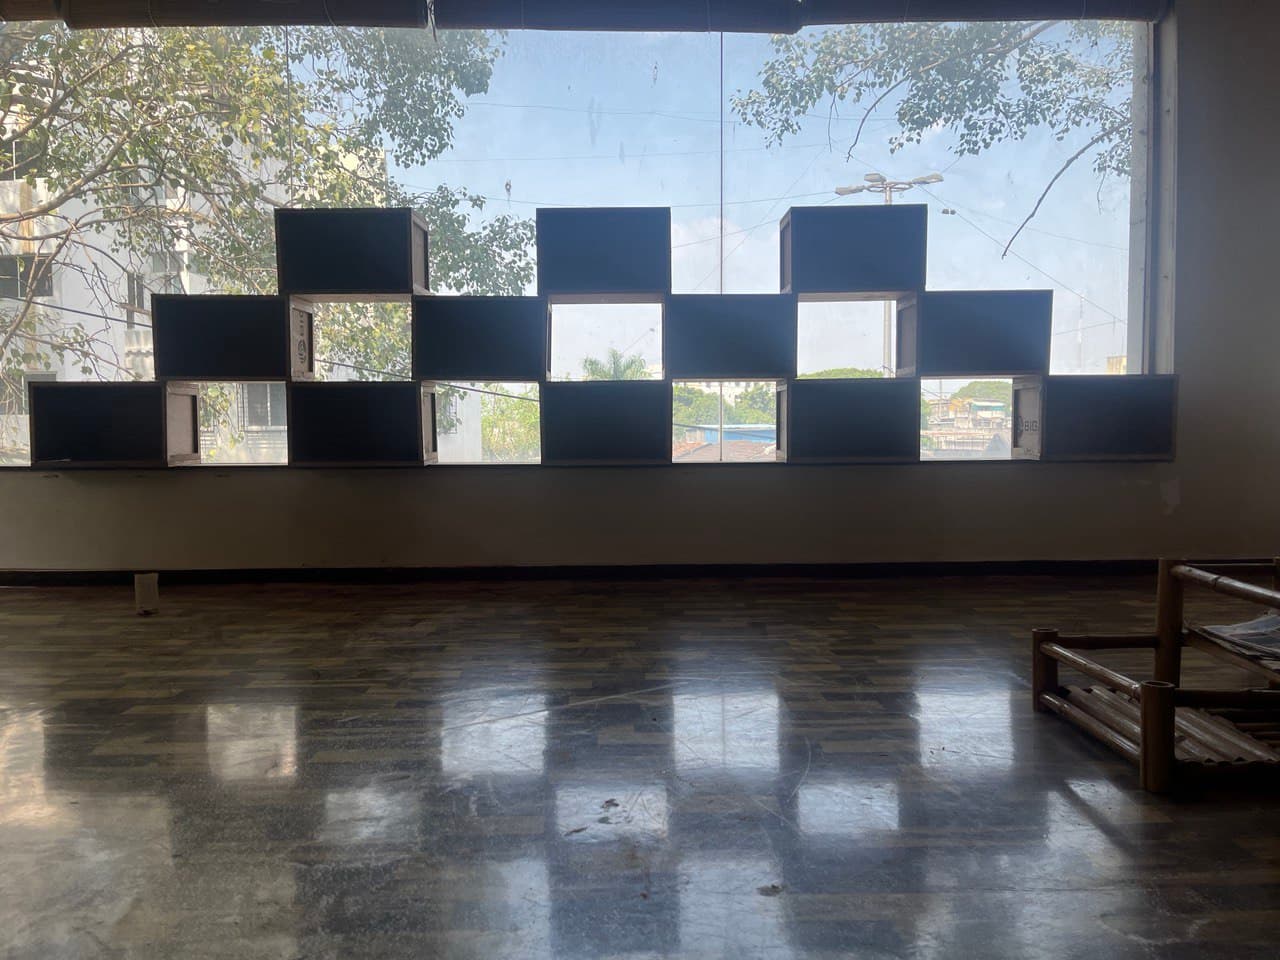
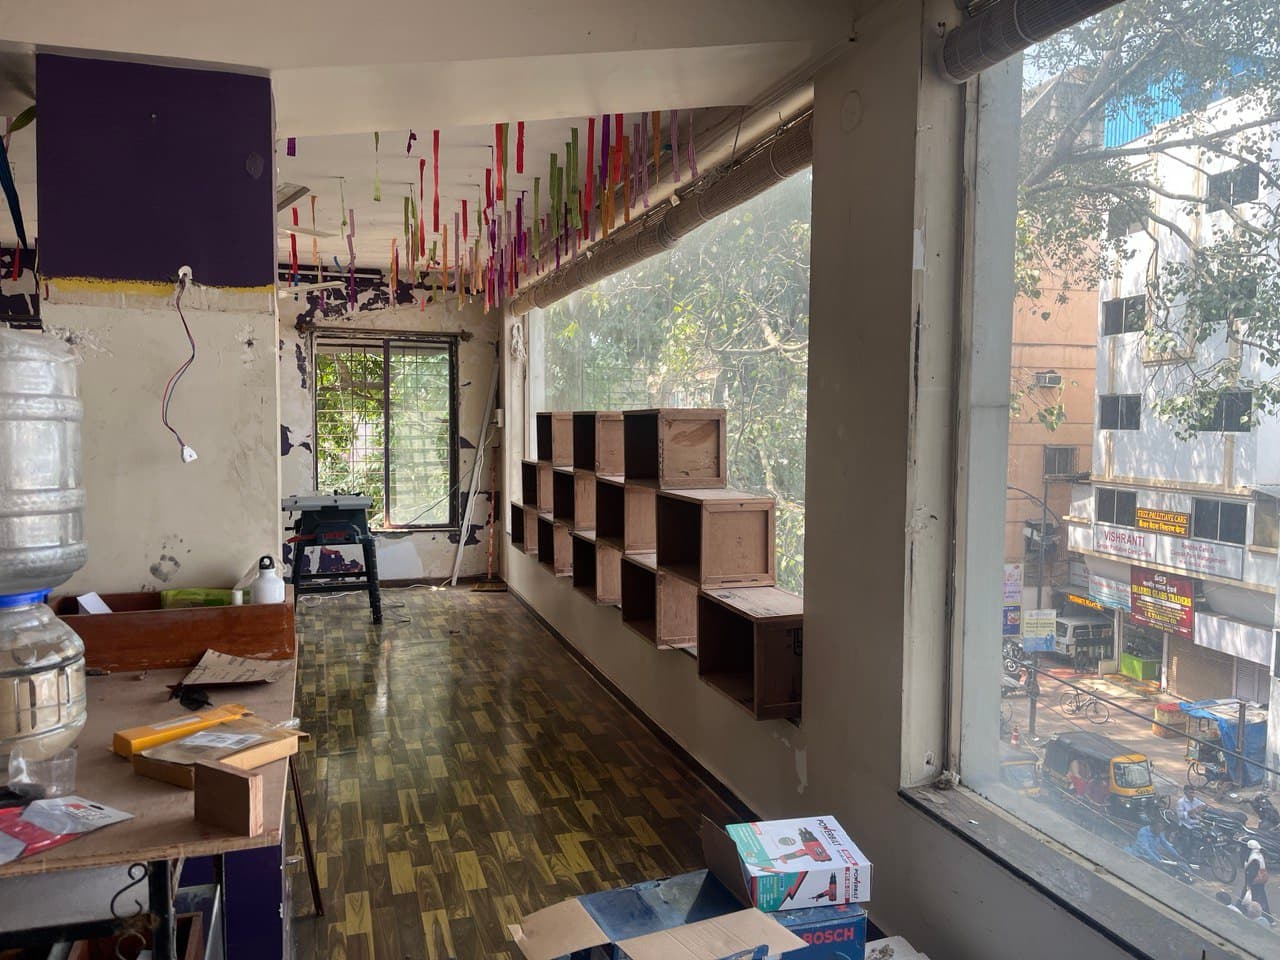
The concept of wooden boxes was originally developed for the entrance, so that we will be able to use it to block the entrance as well as for storage.Since we wanted these boxes to be modular and can be used for multiple roles we decided to make all the boxes for the same size so that they can be stacked when necessary.
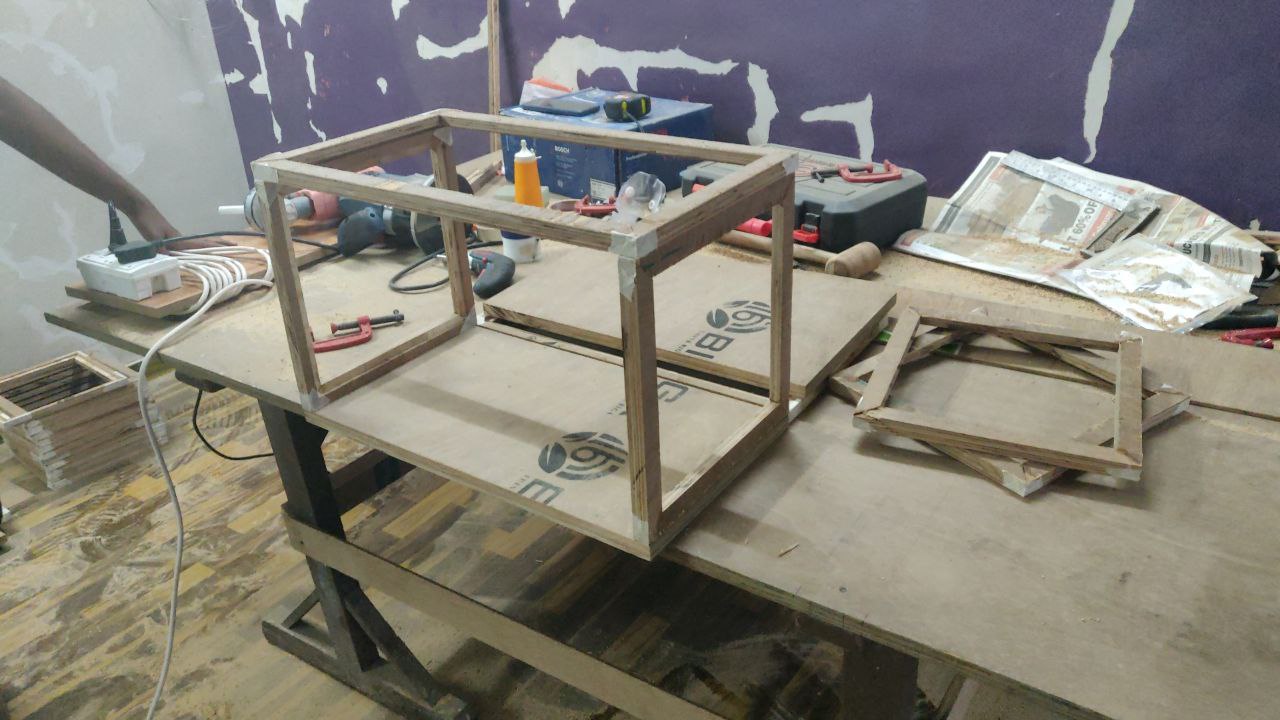
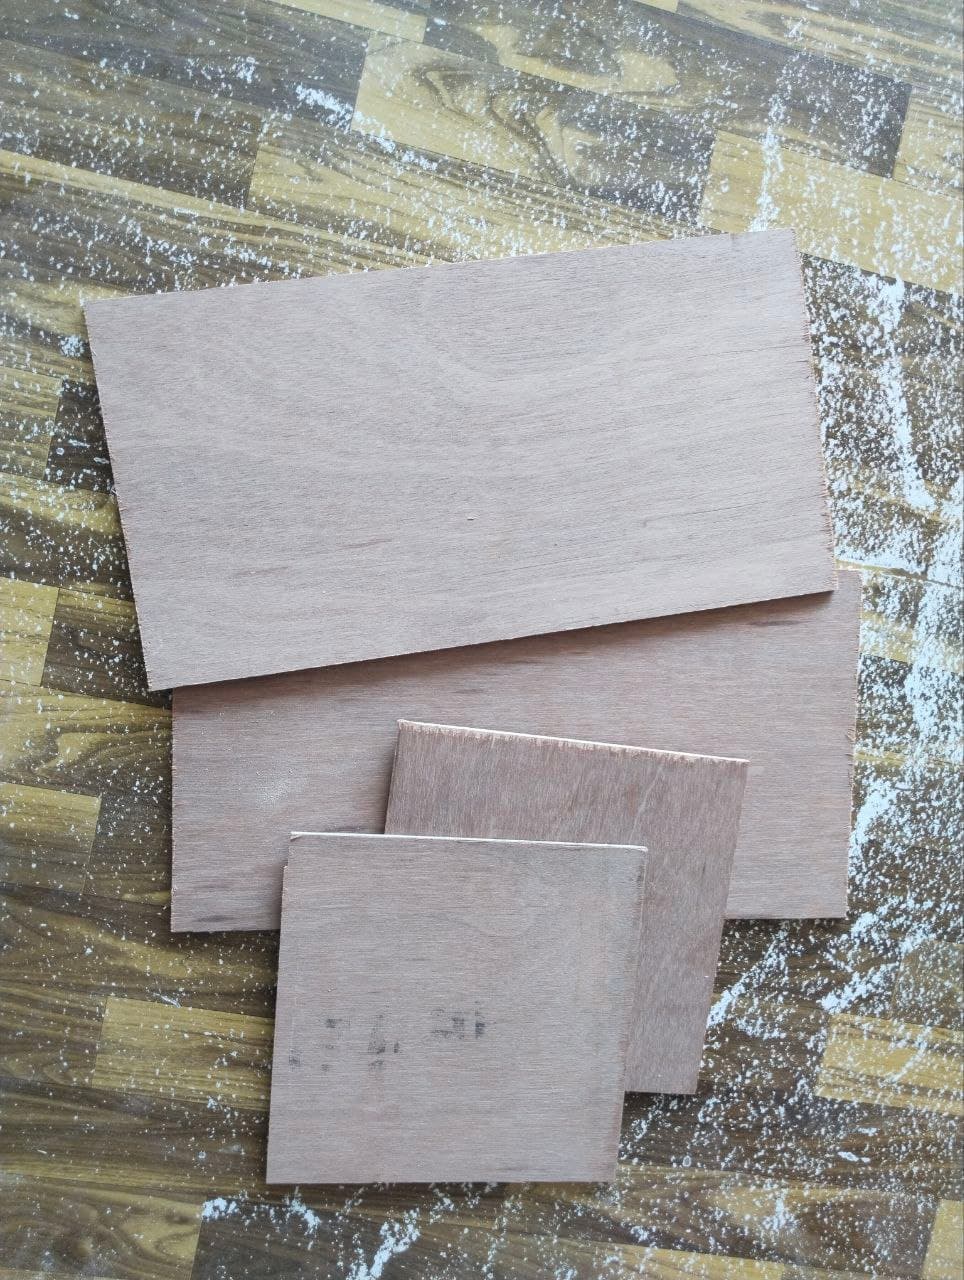
We wanted to reduce the amount of wood used, without compromising the strength of the boxes. So we have done the frame work, we cut the 2 inch strips pf 18 inch ply board so we have assembled them as square and rectangular frames. two square frames of 1x1 ft and two rectangular frames of 1x2 feet, would make one box.
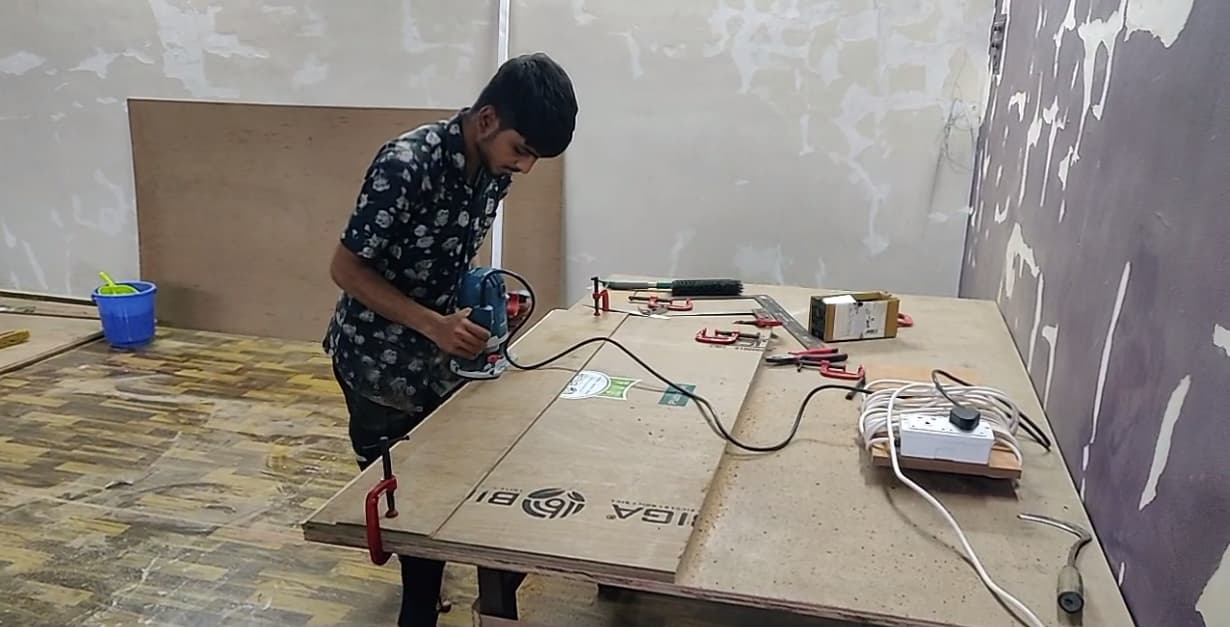
Creation of the Rabbet
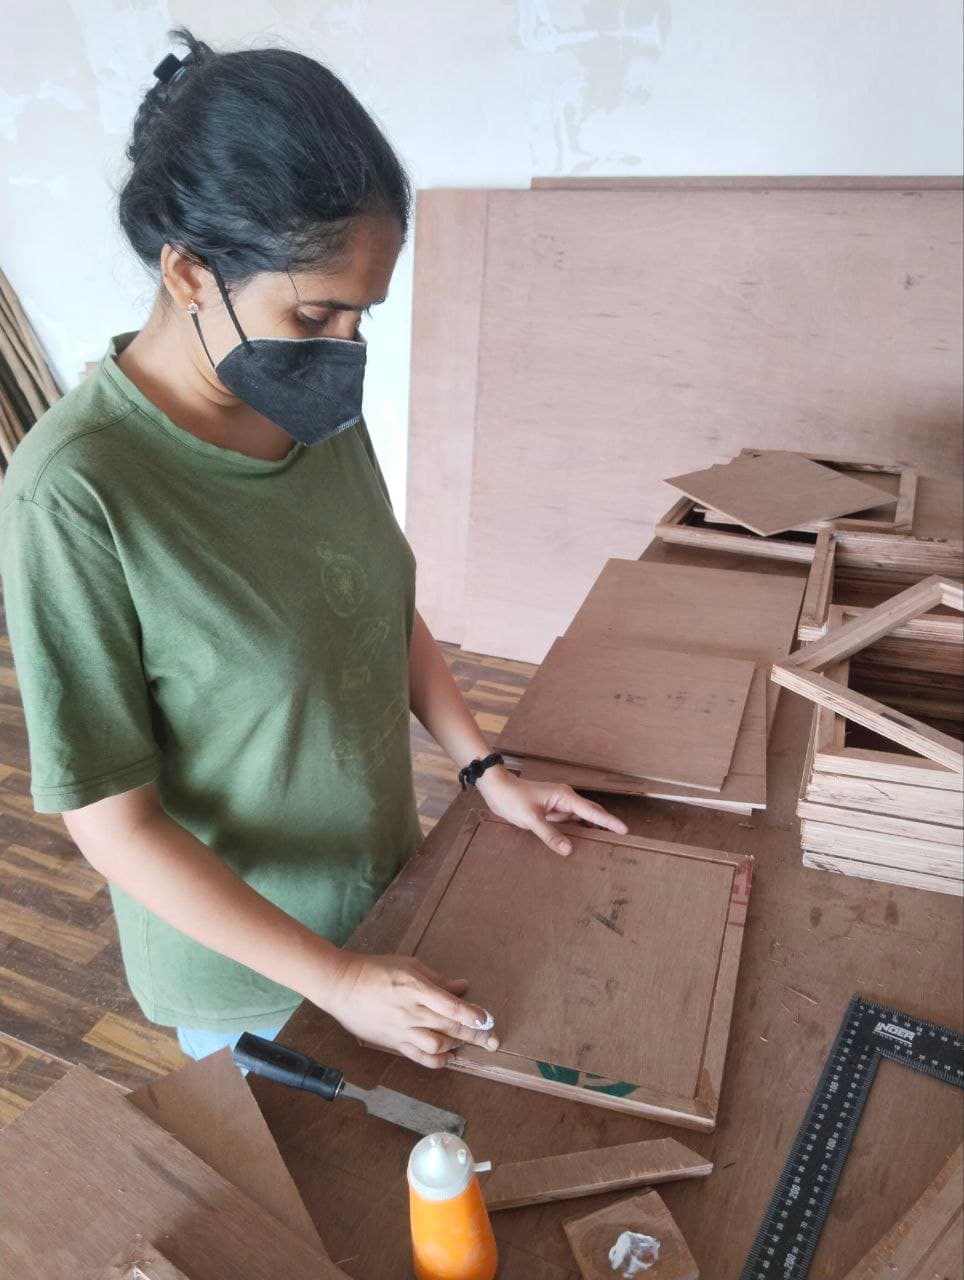
Rabbet is an L-shaped channel cut on the edge of the plank. How did we make the rabbet channel? we used a router with a suitable bit adjusted to the required height of the channel. The channel height is set to 6mm because the plank that will sit on the frame is of the 6mm thickness. The picture below shows Ali was creating the rabbet at the edge of the planks using a router.
The construction: Making of a Frame
We cut the 2 inch strip after creating a rabbet at the edge of the plank, then we marked the sizes on the strips accordingly with the height of the frames of 1ft for squares and height according to the rectangular frames. carefully we cutting the strips leaving an inch of space between each marking to get the perfect piece, Finally, we attached the pieces using corrugated fasteners and adhesive glue.
After creating each of the frames we placed them one above the another to let them dry and to prevent any kind of movement near it.

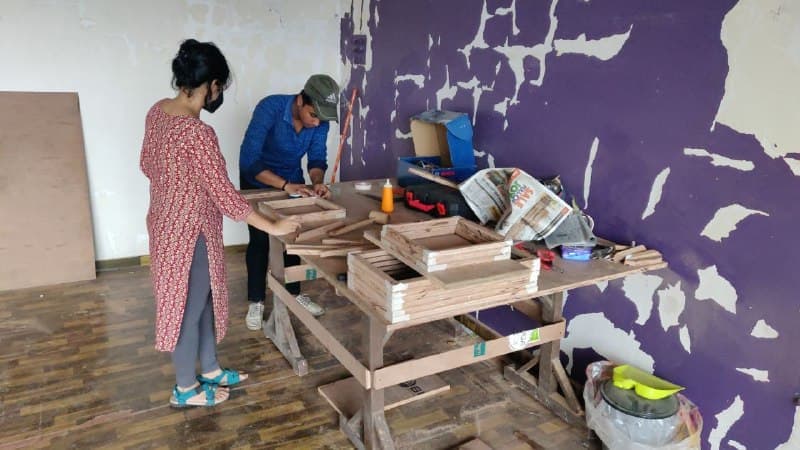
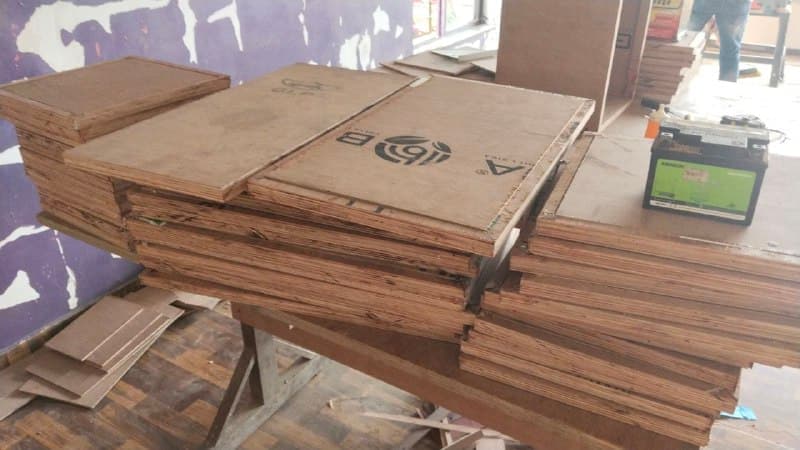
23rd September, cutting and fabrication teams of frames for boxes
Assembly:
4 October, To assemble the box, we used 6mm planks for both the sides to cover. We cut the planks into square and rectangular shapes based on the dimensions of the frames, We made the pieces slightly smaller to ensure that they fit onto it.
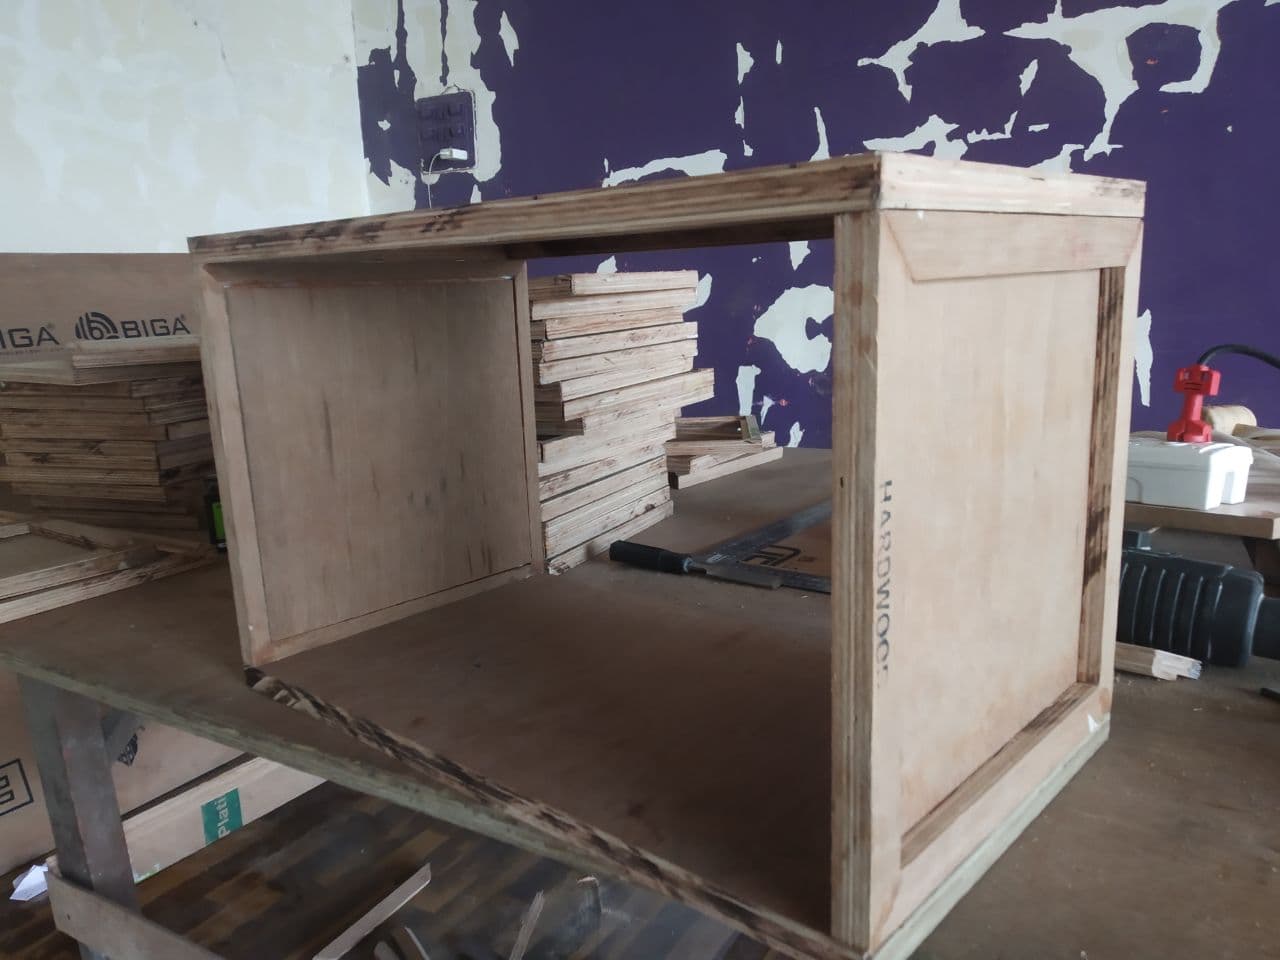
Now the planks are glued to the frame, and ready for assembling.
We assembled the sides using screws as shown below.
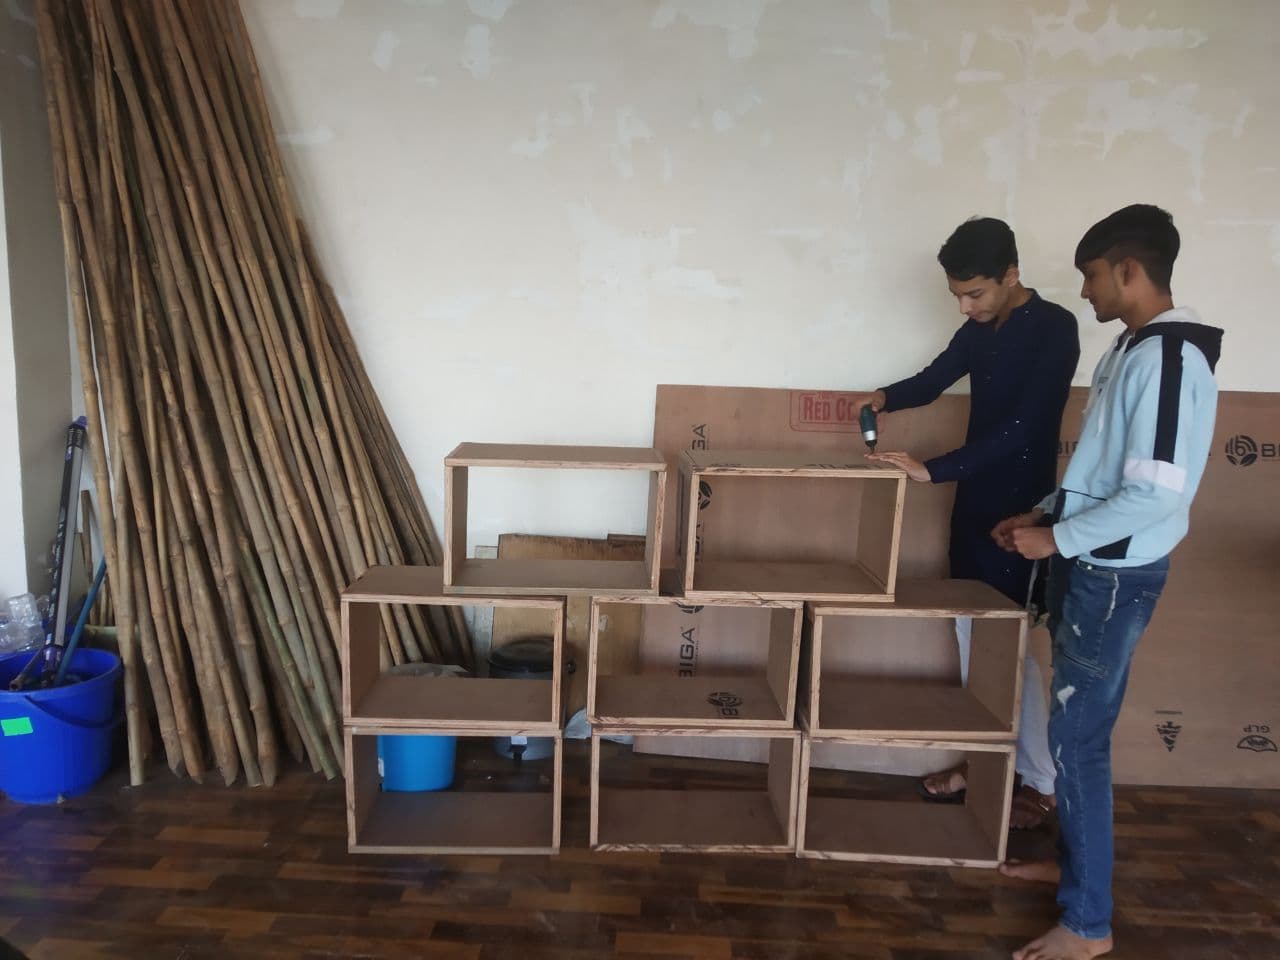
October 6, Fixed the panel to finish the box assembly.
5th November 12 boxes are getting painted.
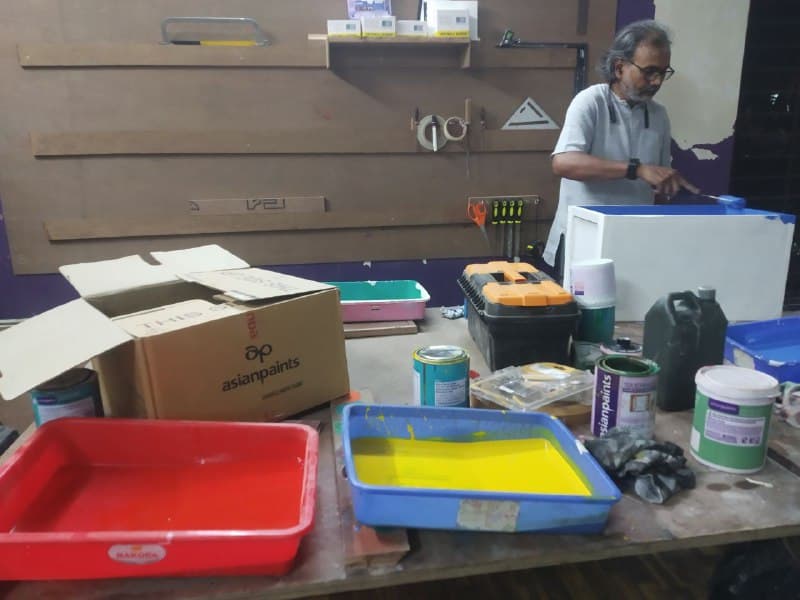
We had a long discussion about what color to use for the boxes. We could not reach a consensus since each of us liked a different color. Then we decided to use the two most popular color models of RGB (red, green and blue) and CMYK (cyan, magenta, yellow and black).
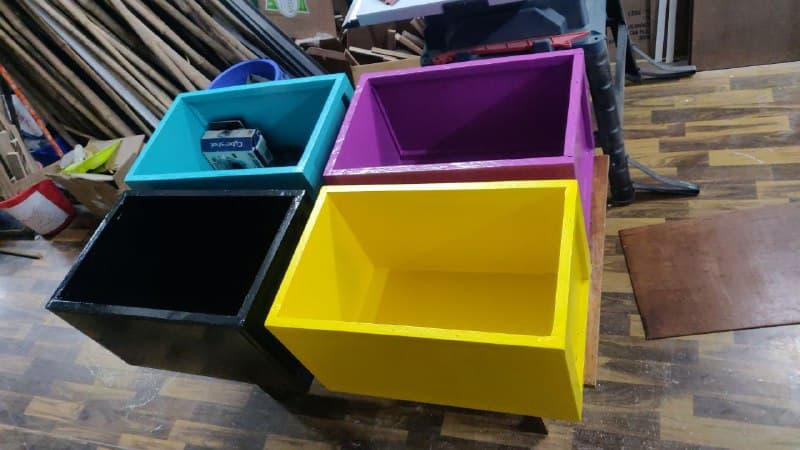
7th November, CMYK colored box set.
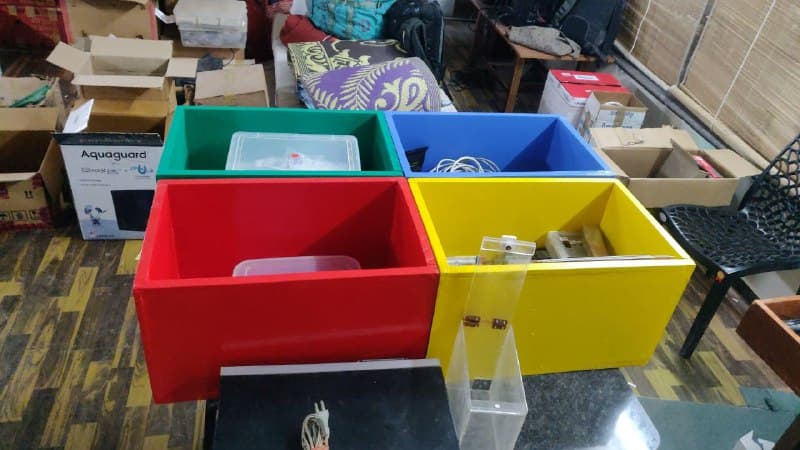
RGB set of boxes with a yellow-yellow dirty fellow.
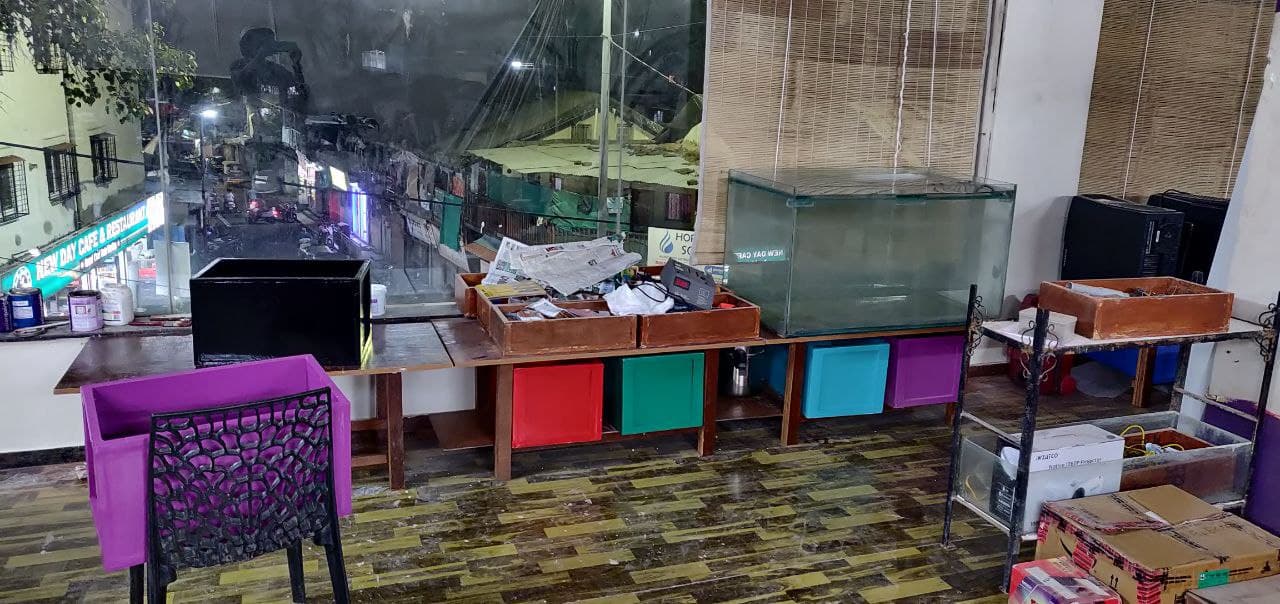
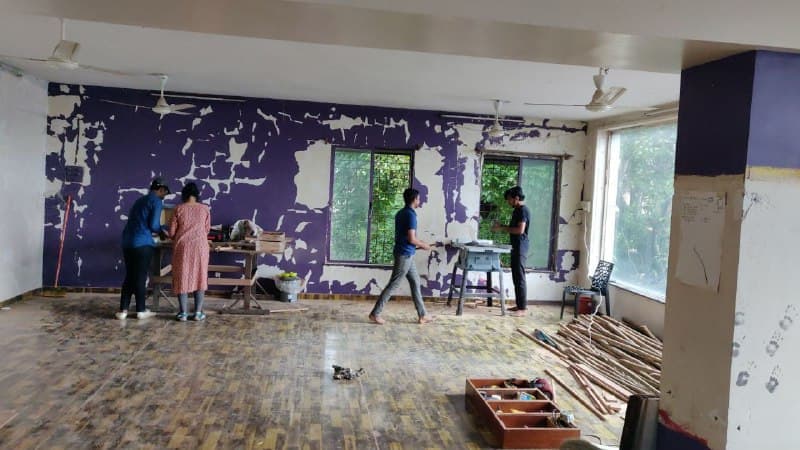
We designed the height and width of the boxes to fit with the ledge benches.
Stay tuned for more updates on our exciting projects and experiments at the academy!