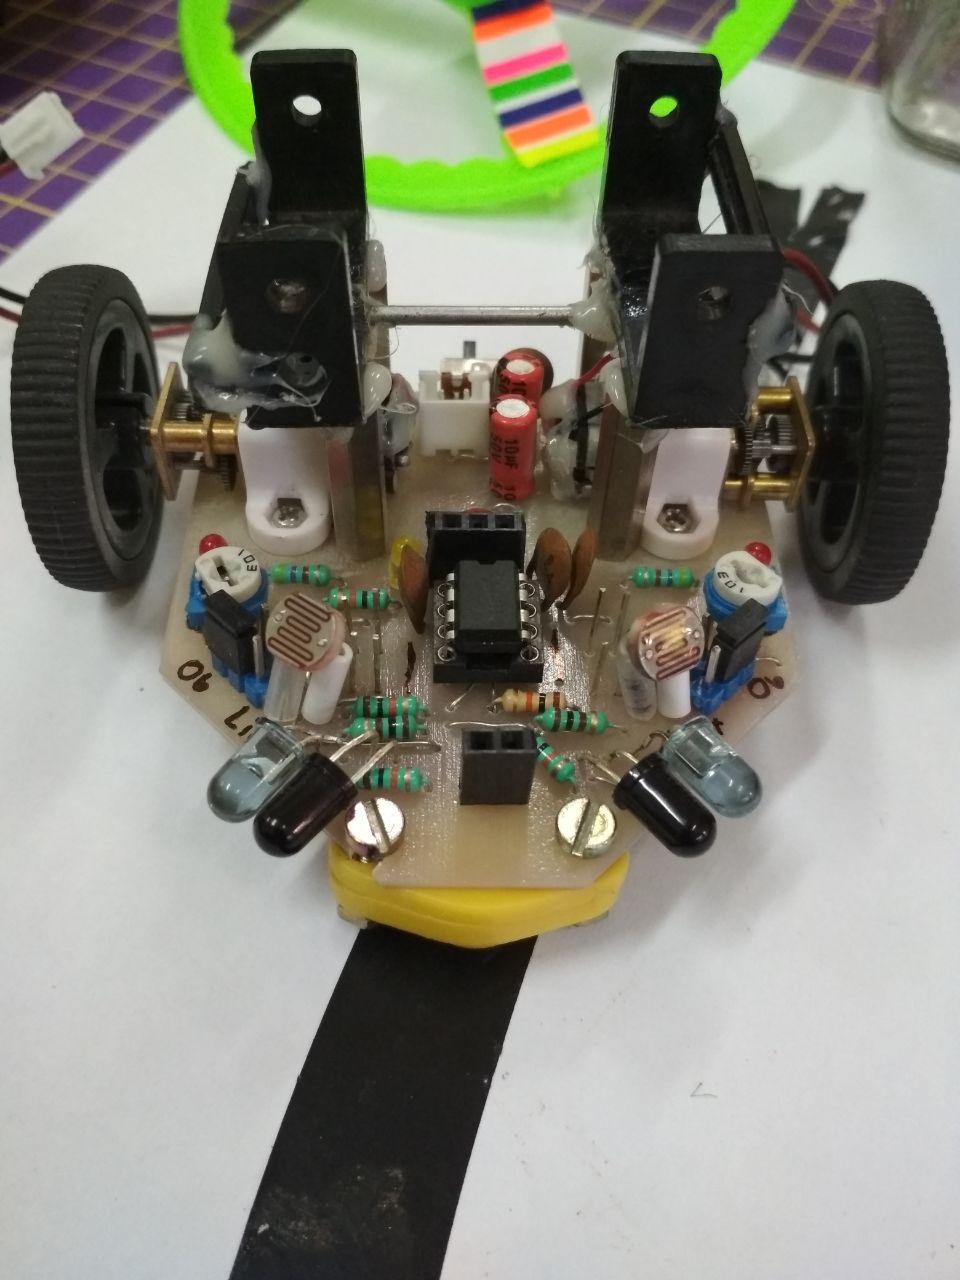
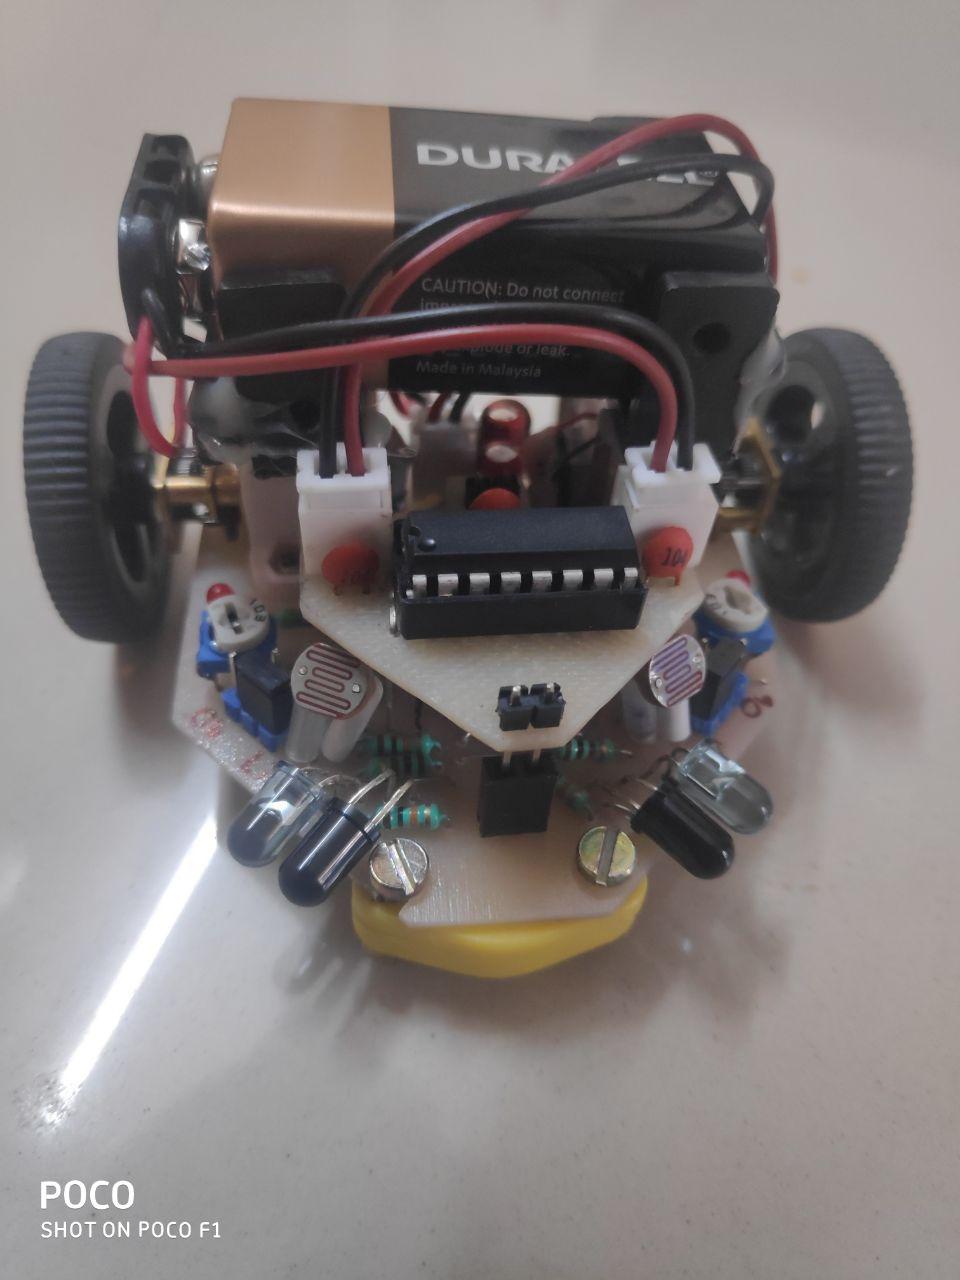
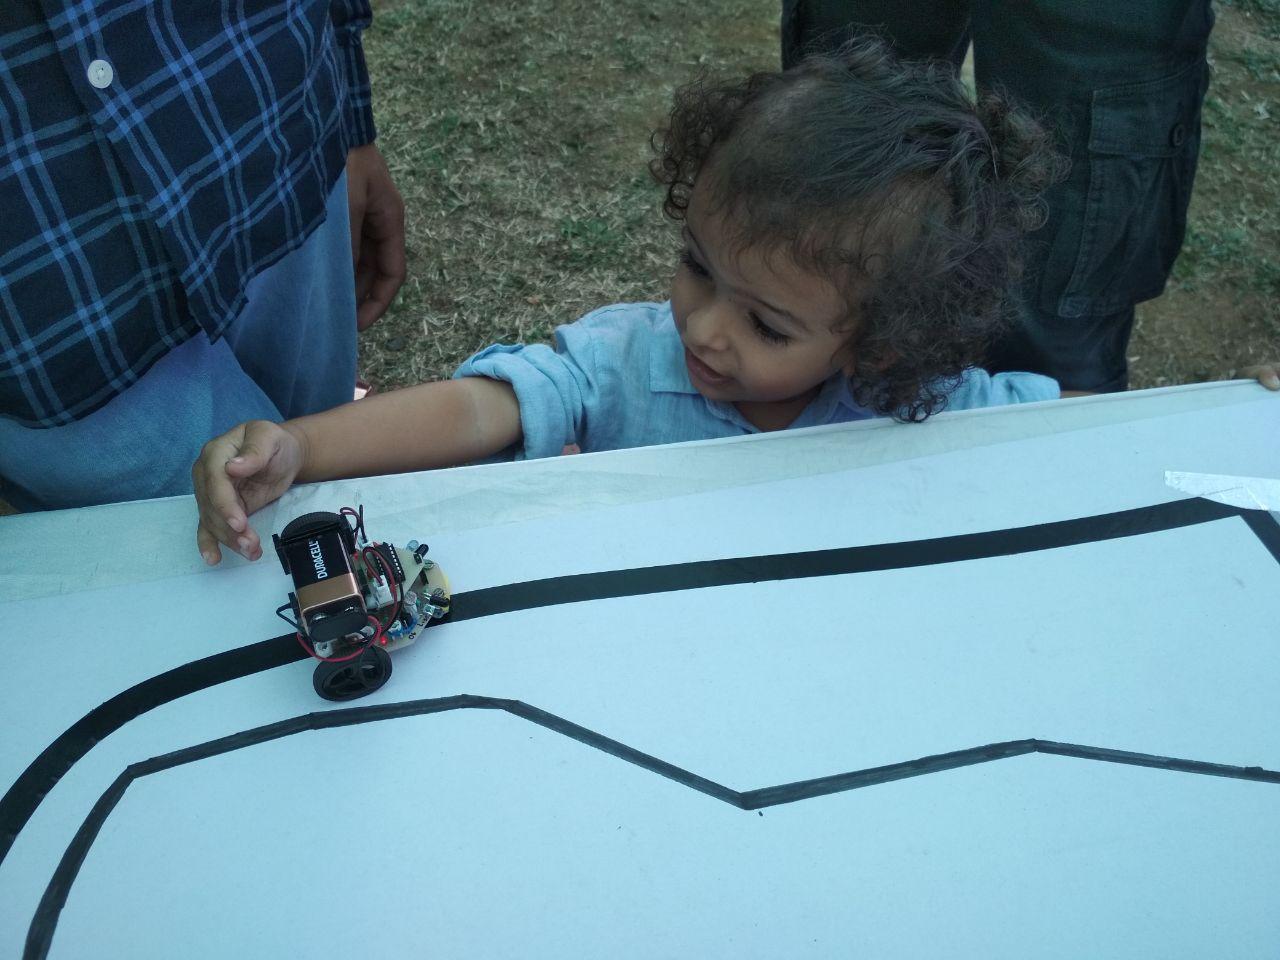
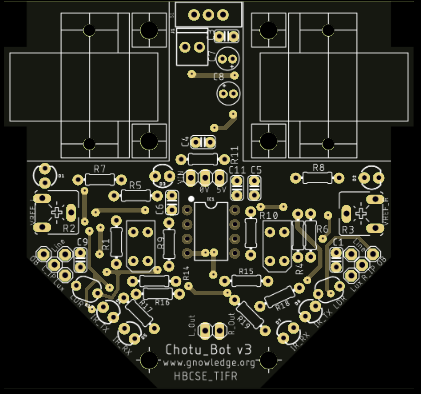
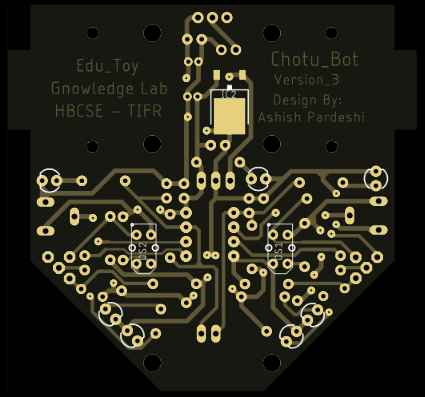
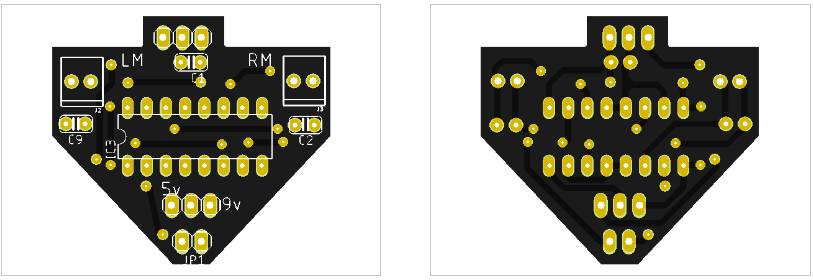
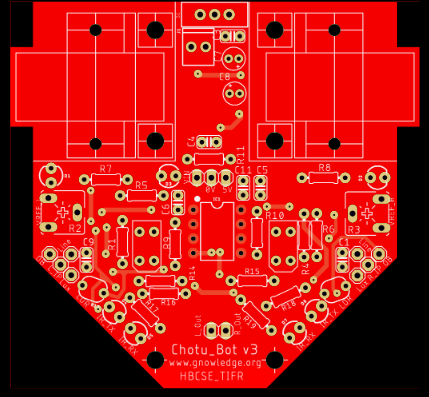
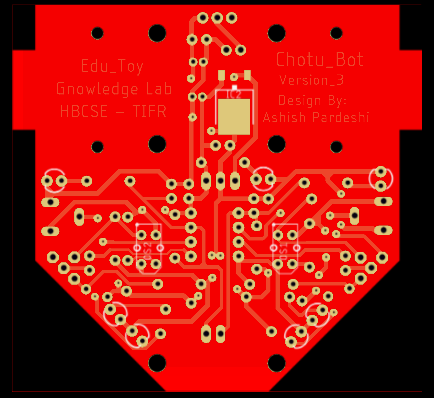
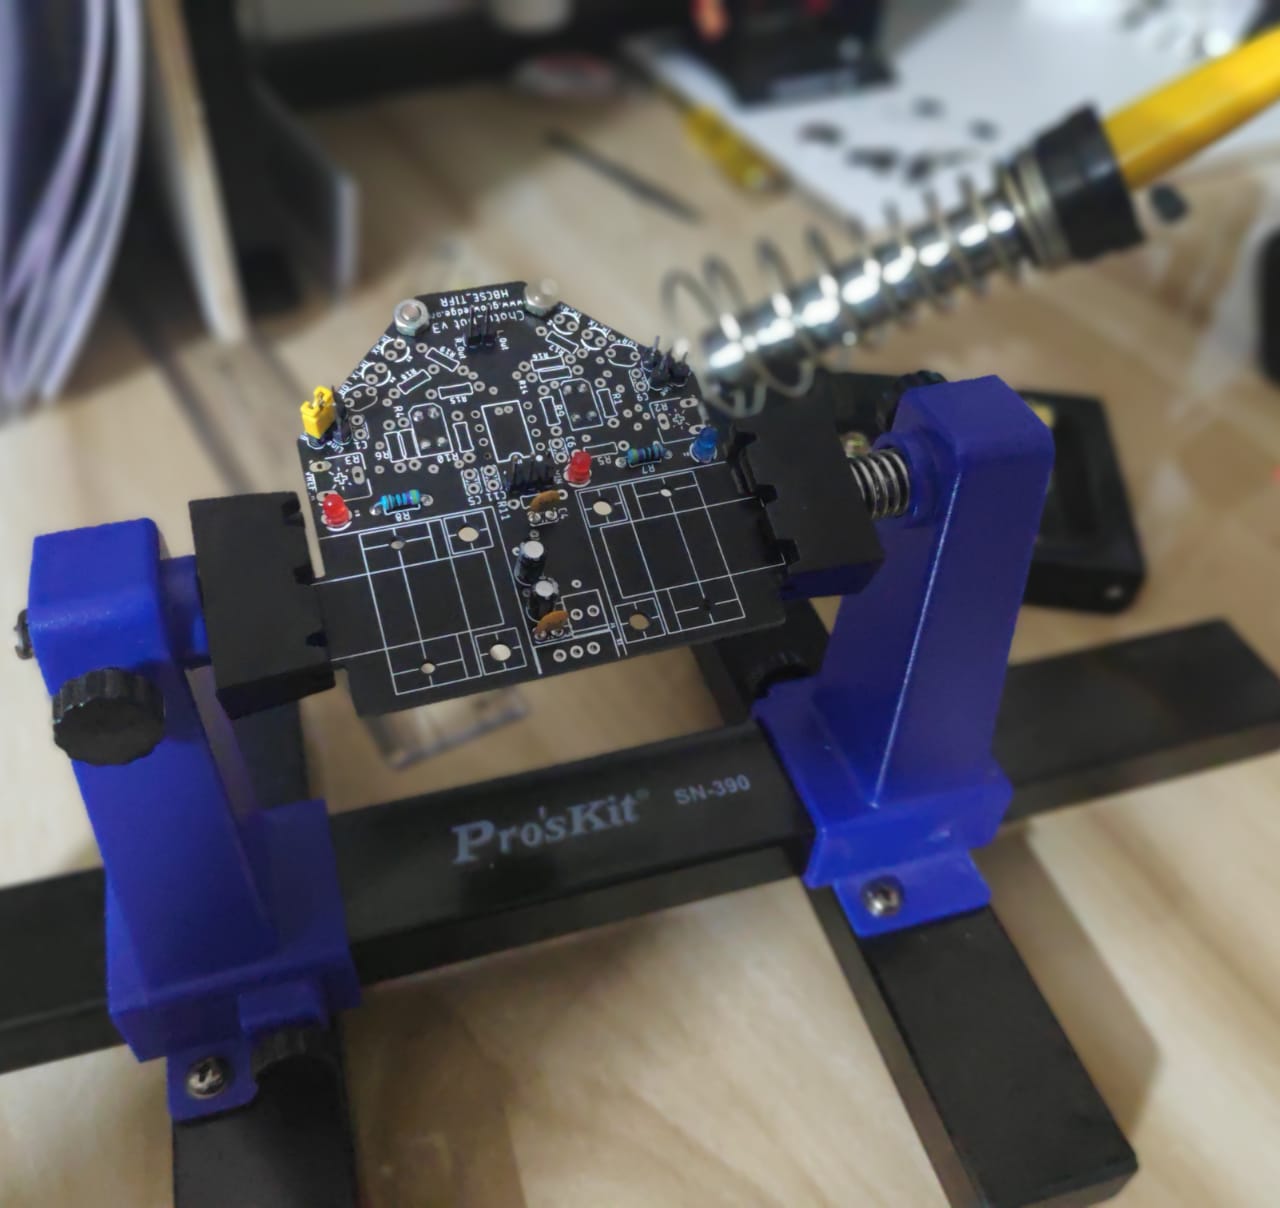
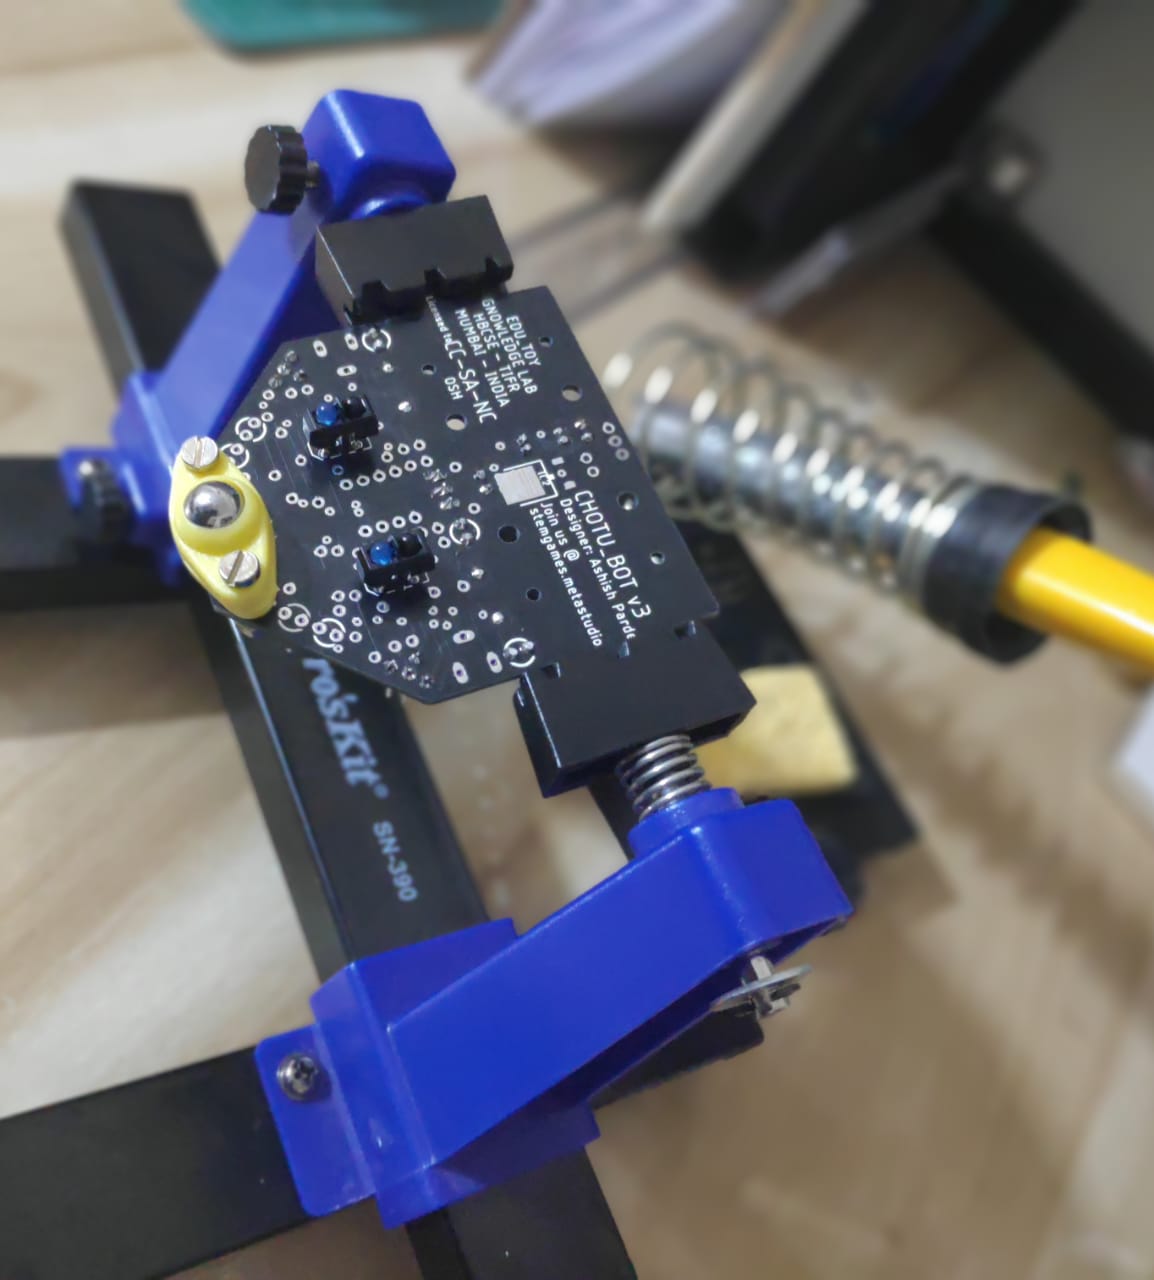
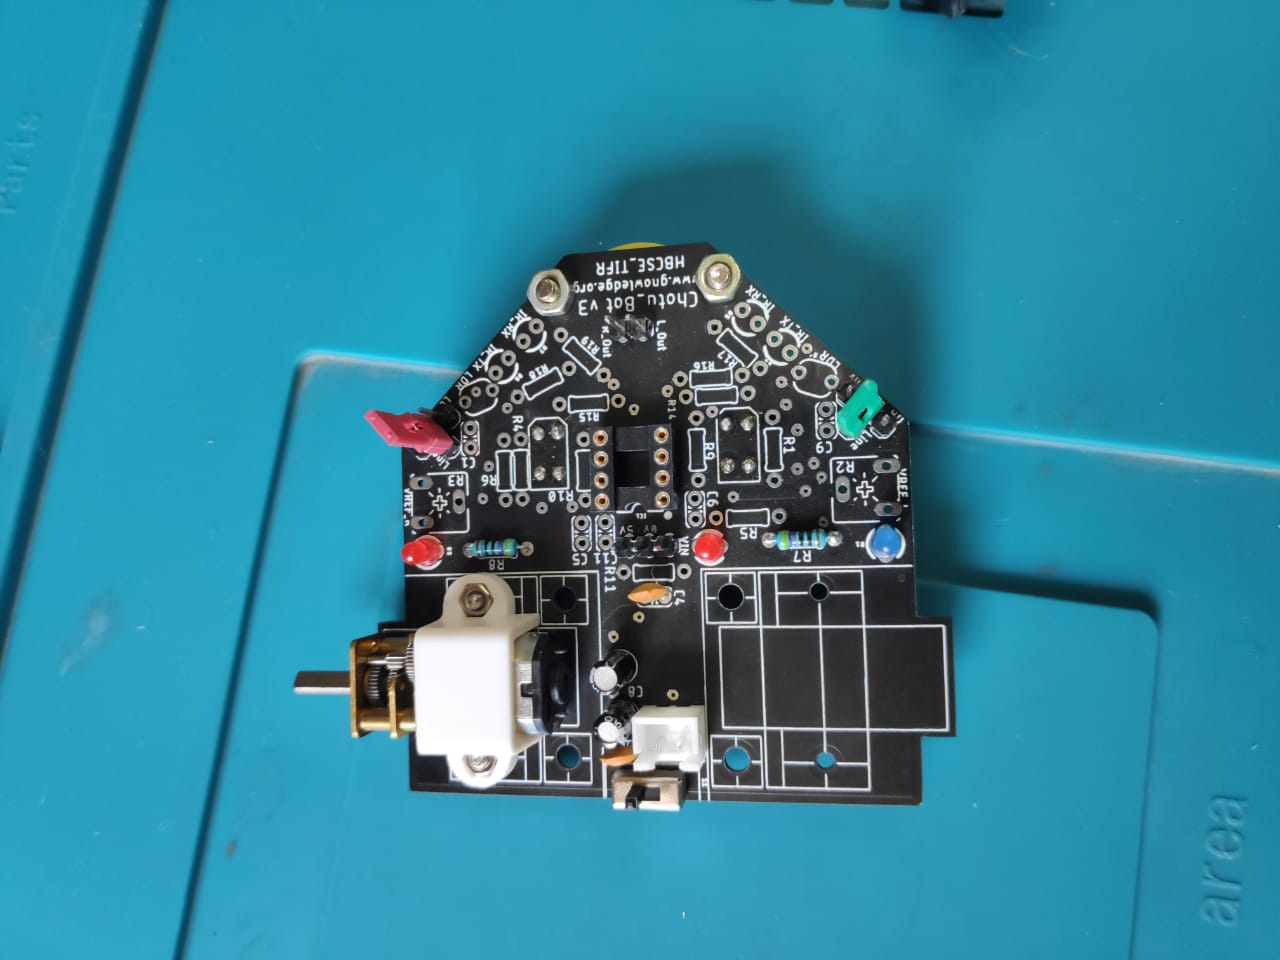
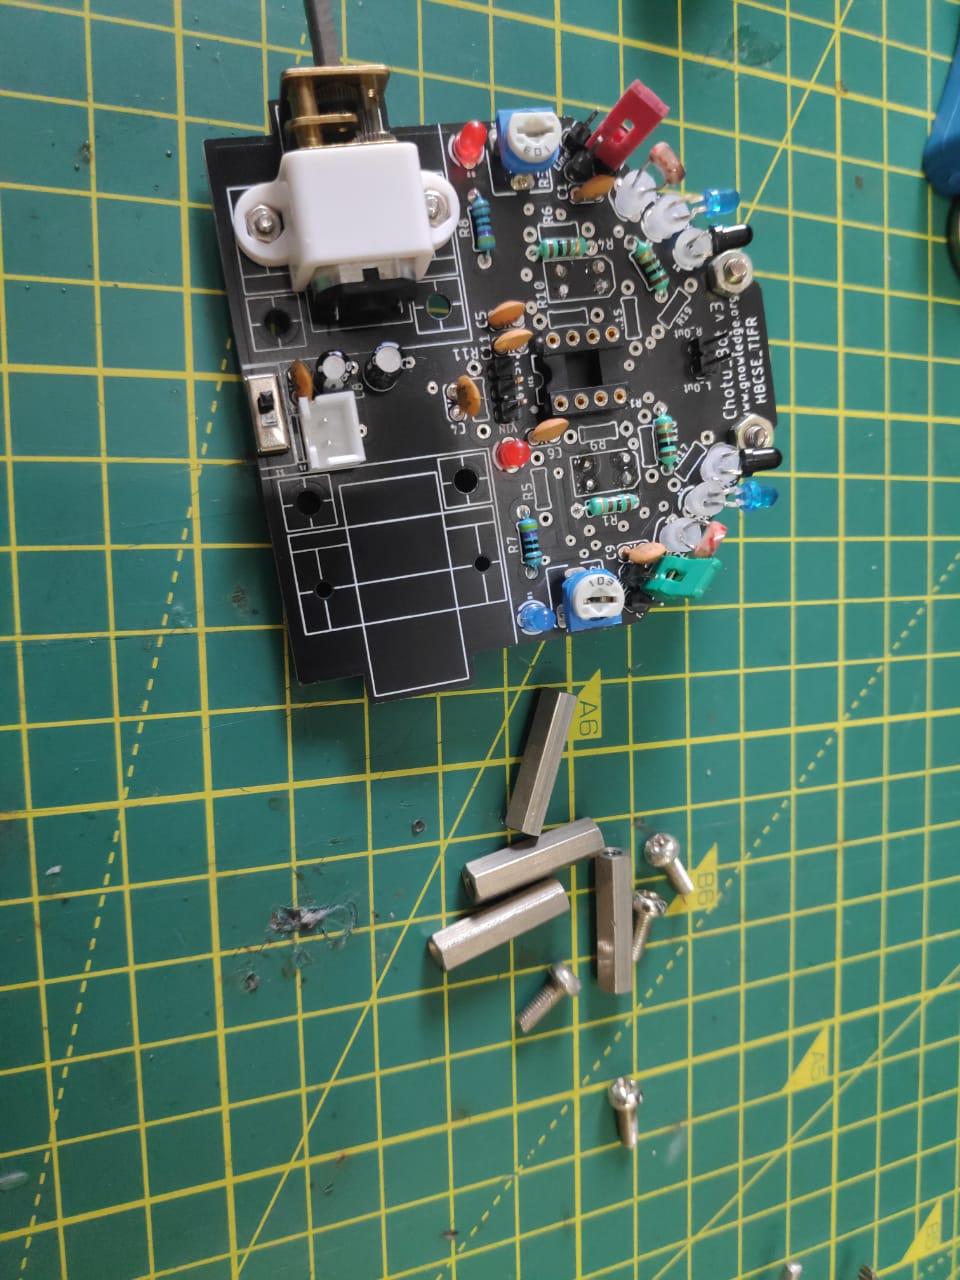
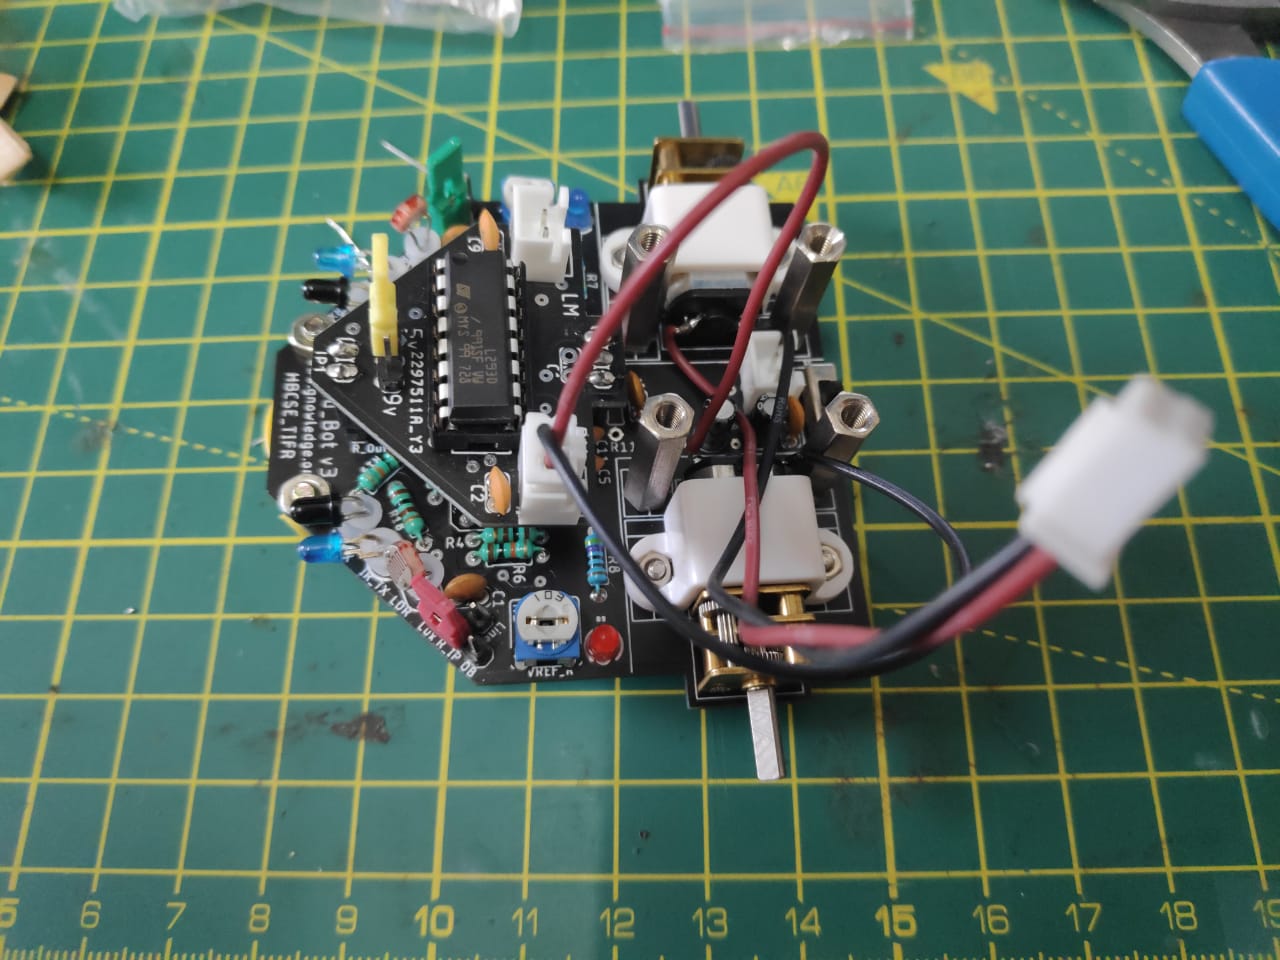
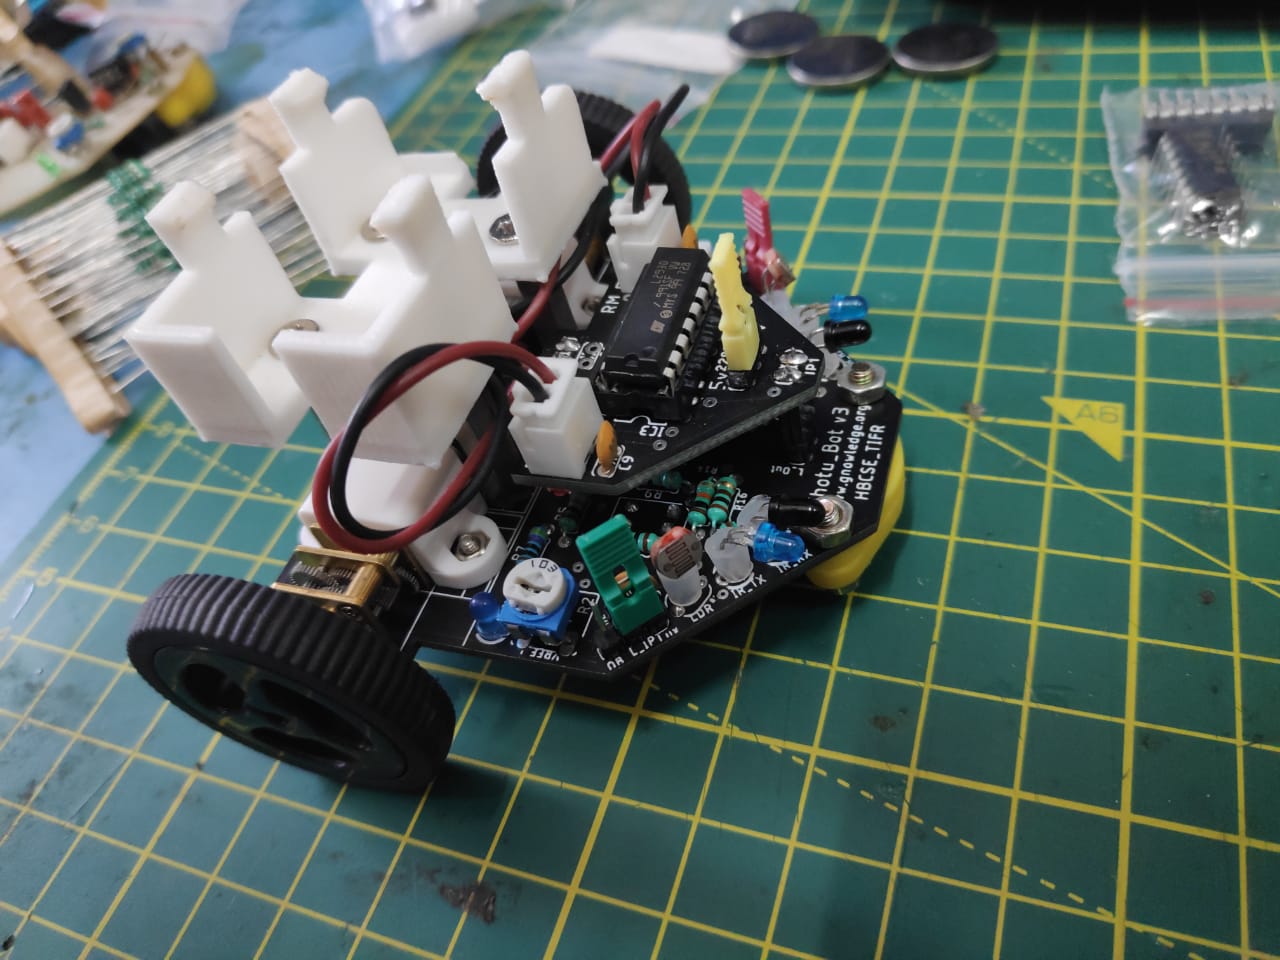
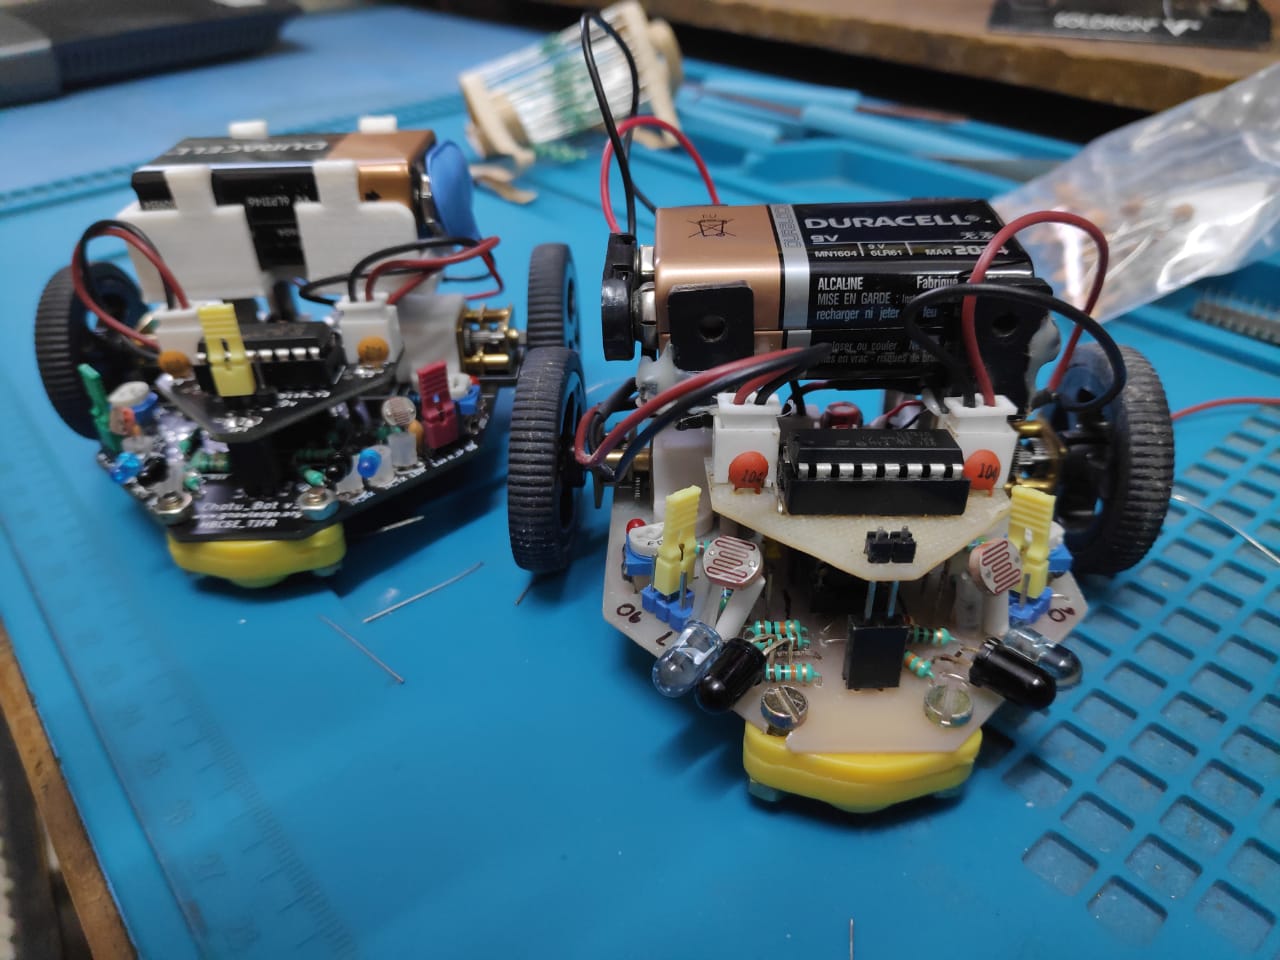
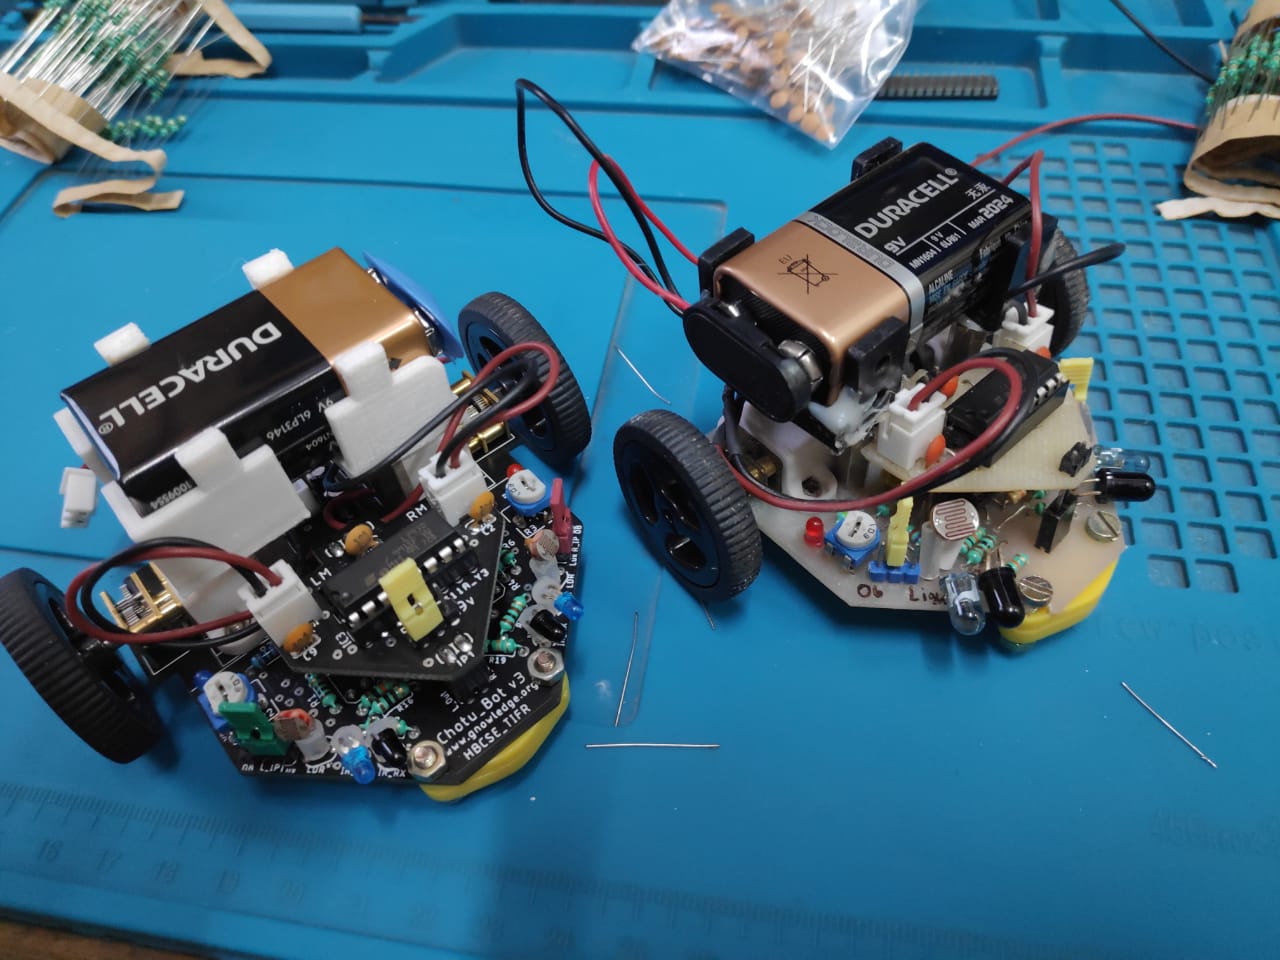
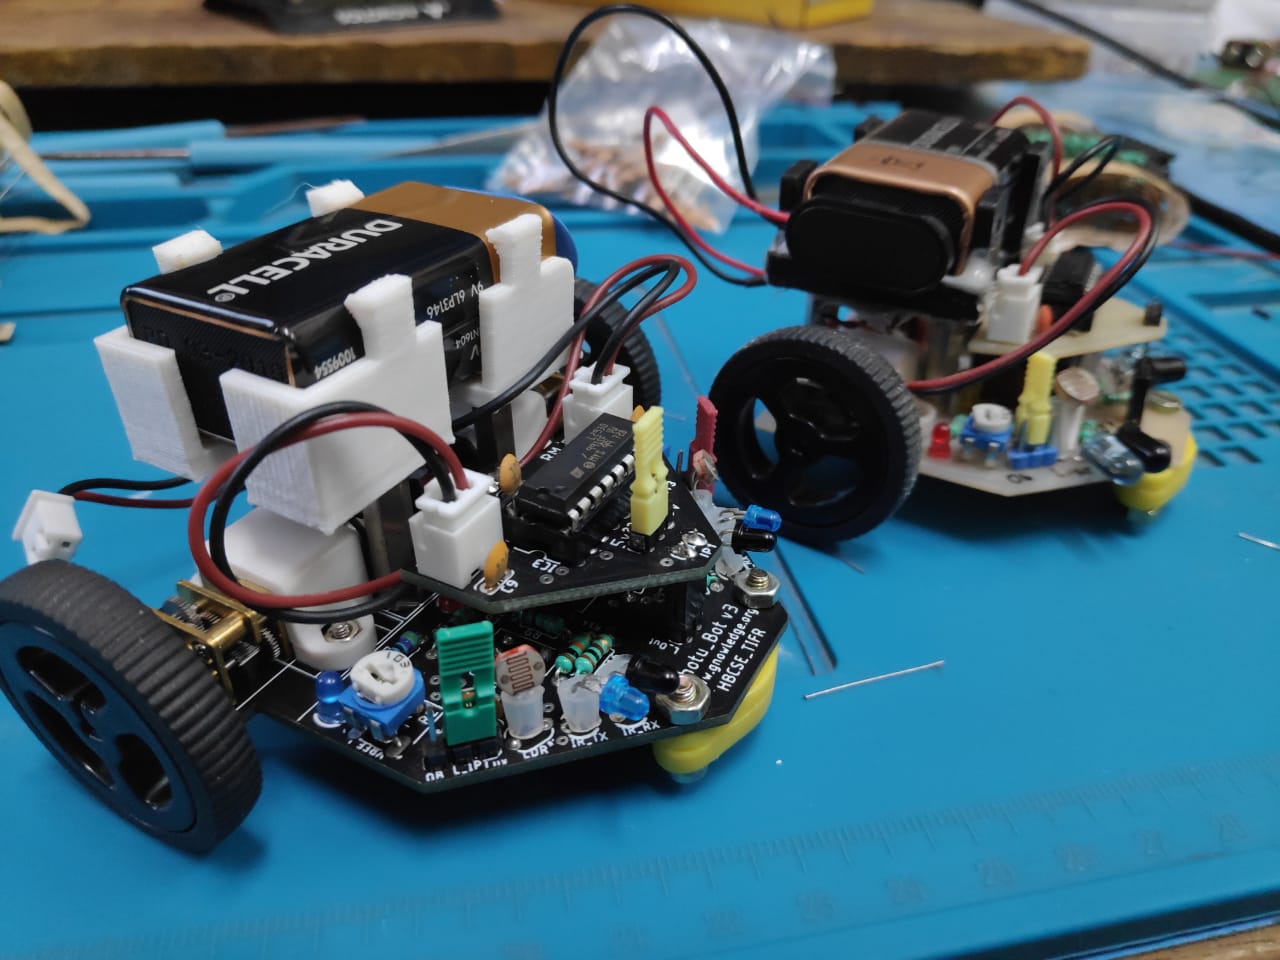
Chotu_bot is capable of tracking black line, responds to Light and avoid obstacle, one mode at a time and all it do without microcontroller. Yes microcontroller/Arduino/any other programable platform has not been used.
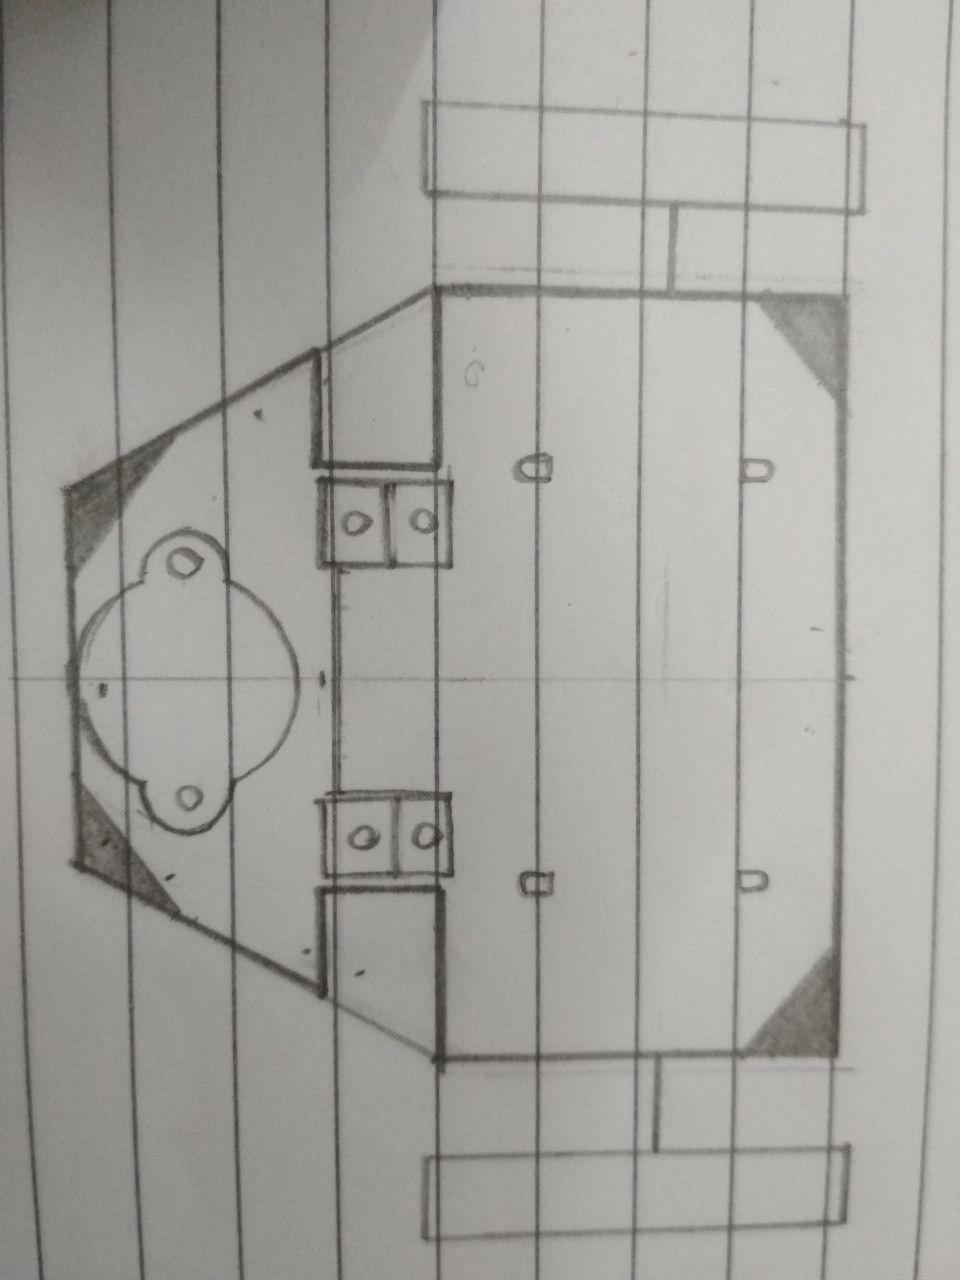
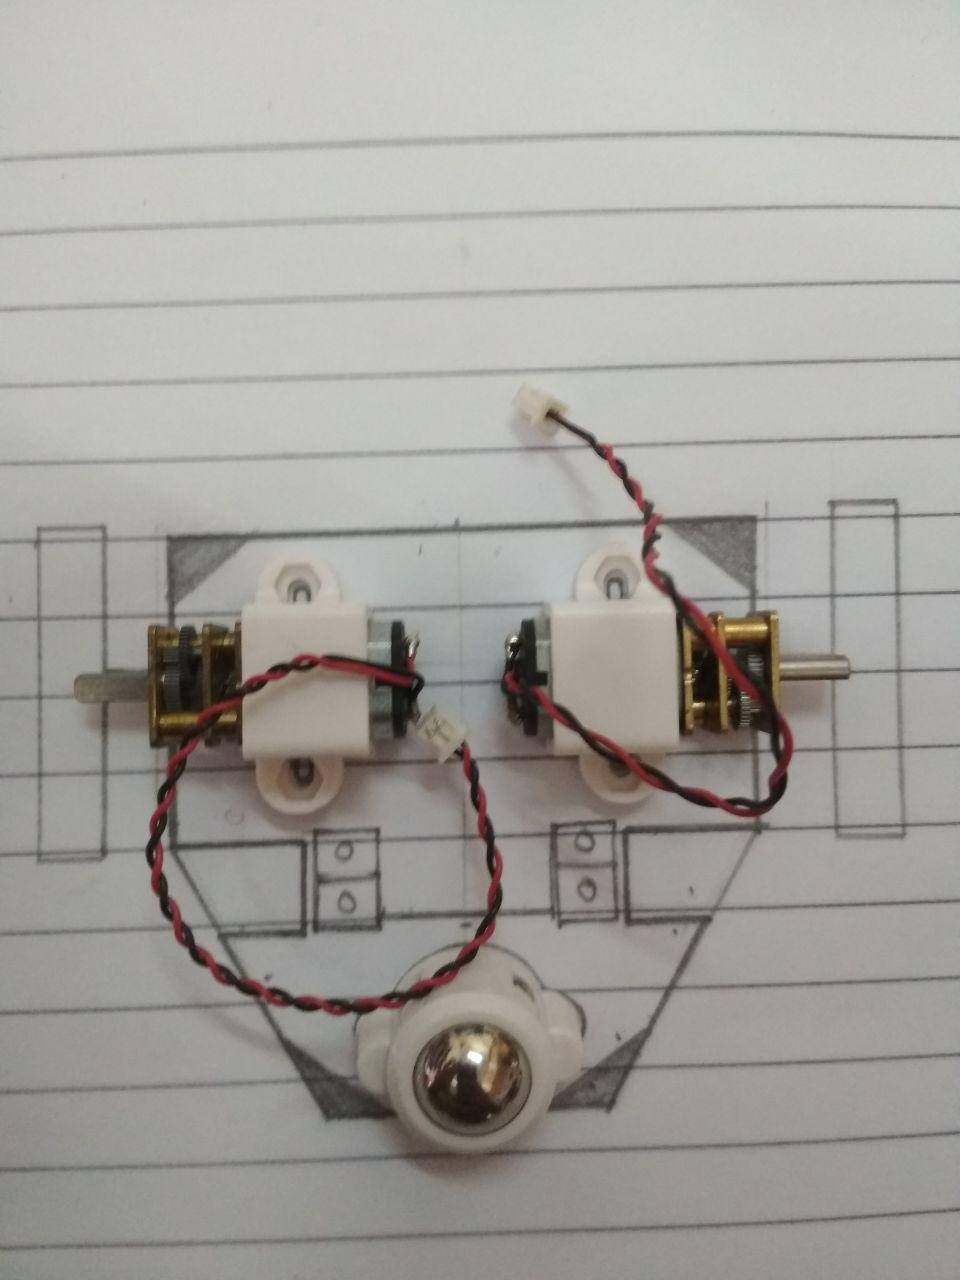
So guys make your own Chotu_Bot with your own Design, Logics and the interaction you want. Choose what kind of chassis, motors, wheels/legs, sensors etc you will use and share your build in progress with us and we have reward for you.
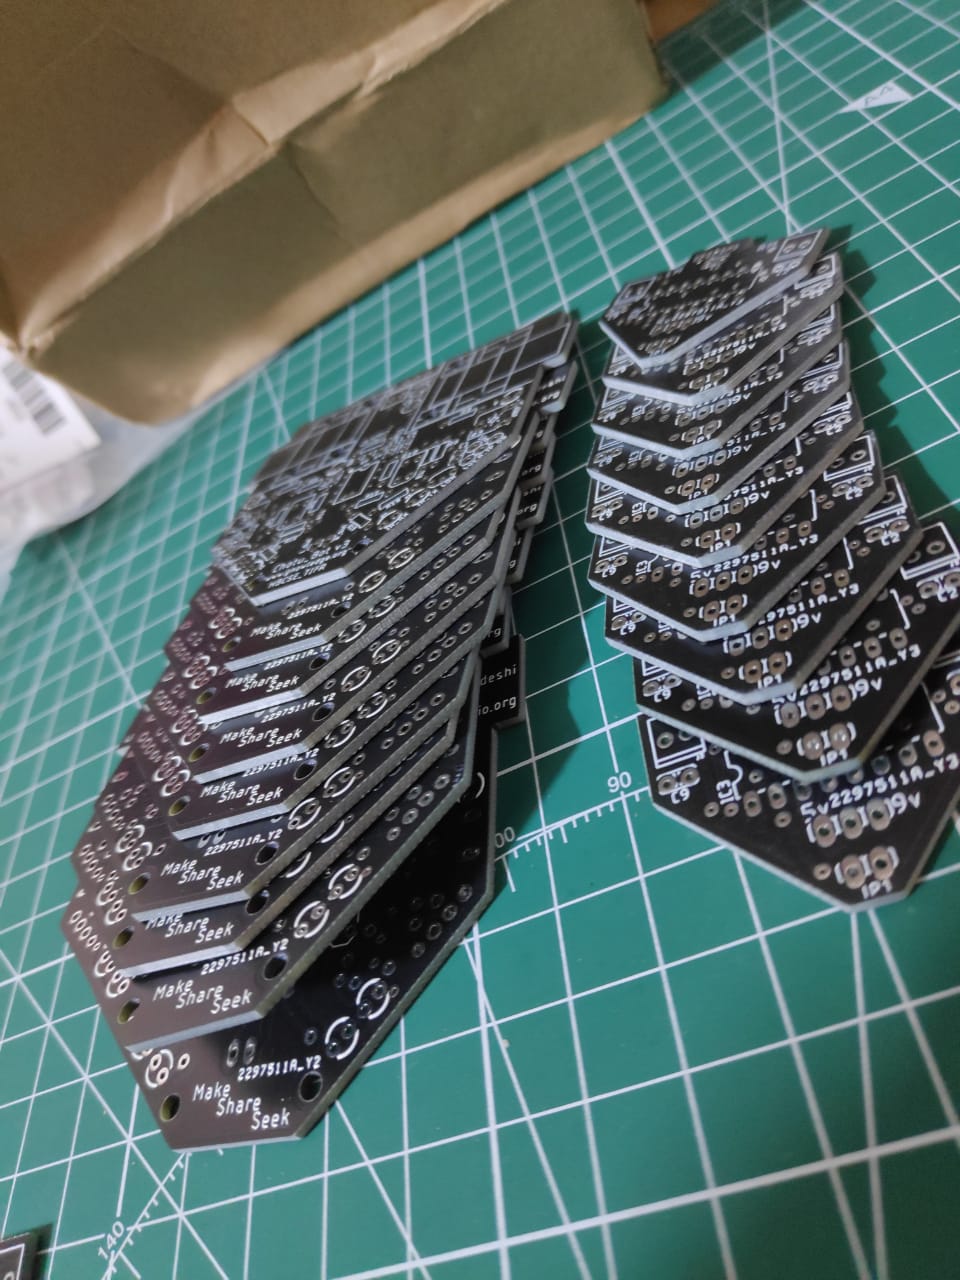
Guess what reward, we will send PCB of our Chotu_Bot to you.
Just simplify the process of making own circuit diagram.
And suggest us the method to start from scratch for circuit designing and making of own circuit PCB board
You can start with some simple circuitry involving only switches, LEDs, resistors and batteries .
Draw a circuit diagram on a paper (Here you are playing with the connections of components symbol, Annotating them and also doing circuit analysis as per ohms law and other circuit fundamentals) and then try to make the same circuit on breadboard and check the output of your circuit (Here you are actually holding the components, experiencing the components form factor, packages, part number, value identification etc.)
Next you can try the same circuit on general purpose PCB where you will get opportunity to do soldering and making a permanent circuit.
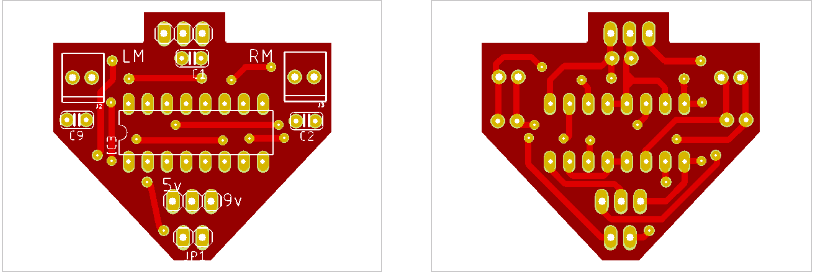
Now you are experienced enough with making of circuits, so time to move on to Electronic CAD Software (i will recommend KiCAD) where you can design the schematic (Symbolic Representation) of your circuit, similar one you did on the paper. And with this schematic you can design the PCB Layout (Physical Board Design) in the same software.
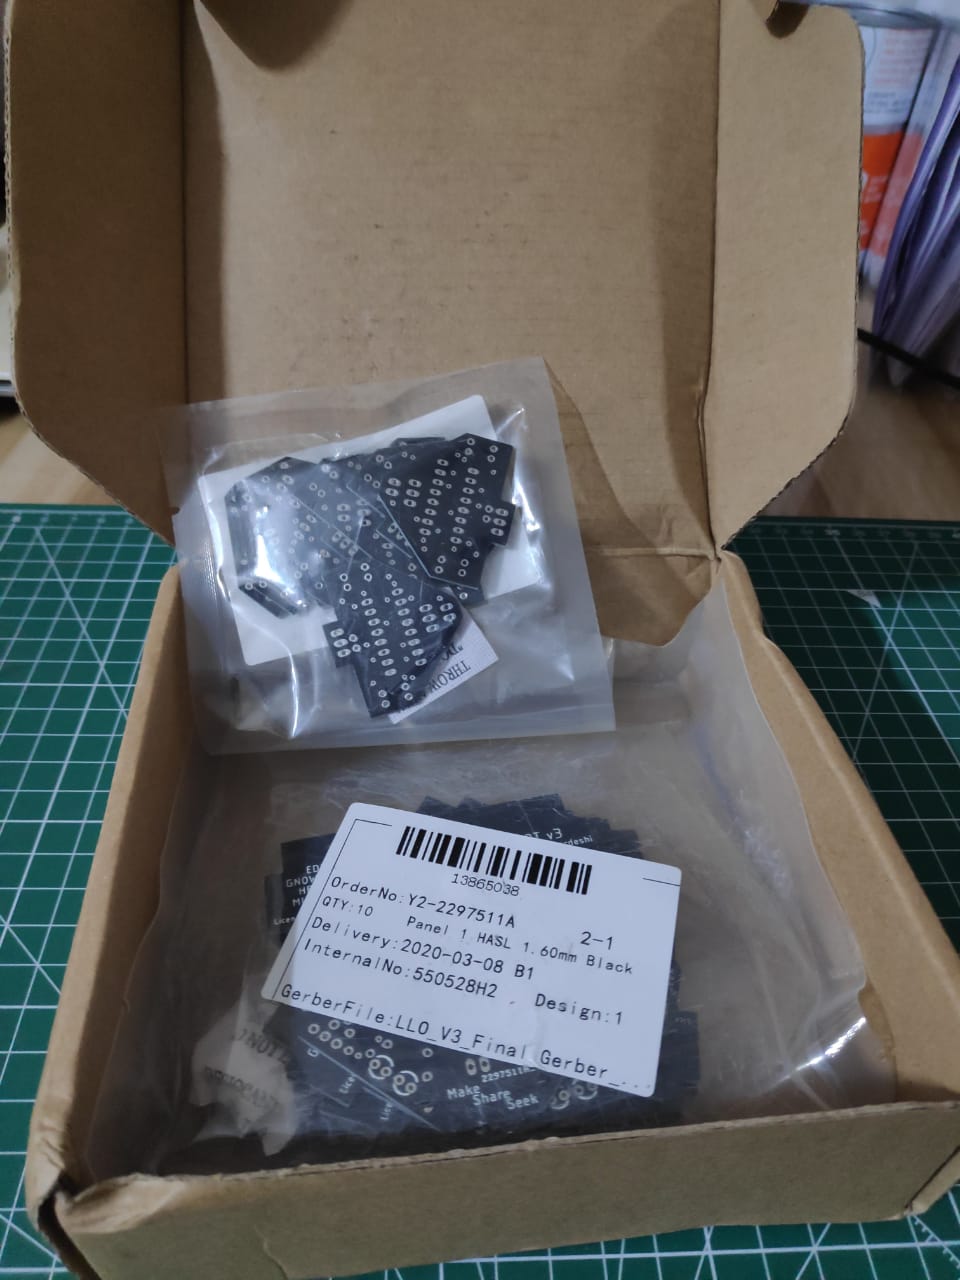
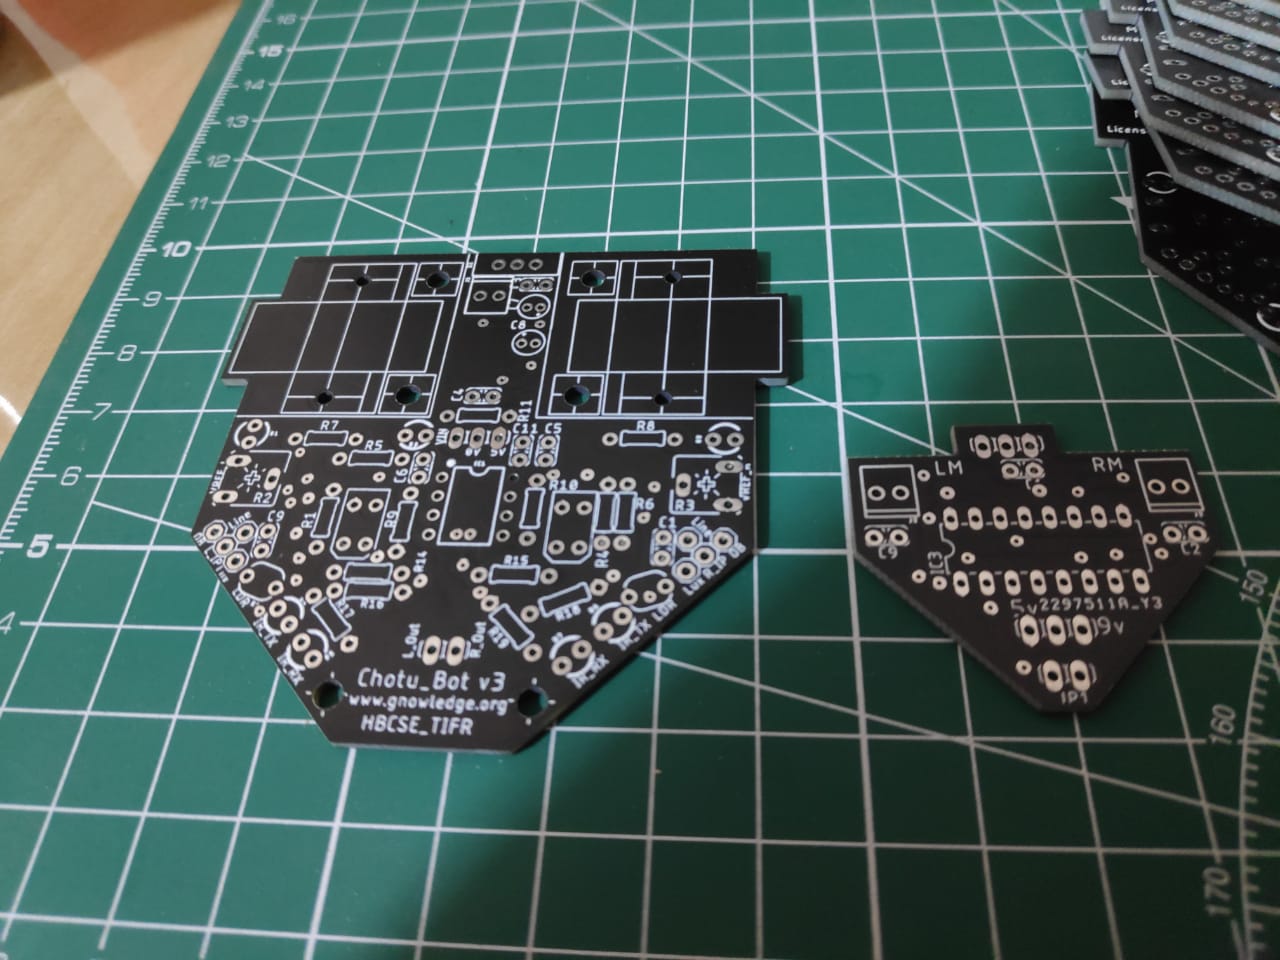
Once the board file is done and verified , now you can fabricate the PCB either manually or send it to PCB Vendor.
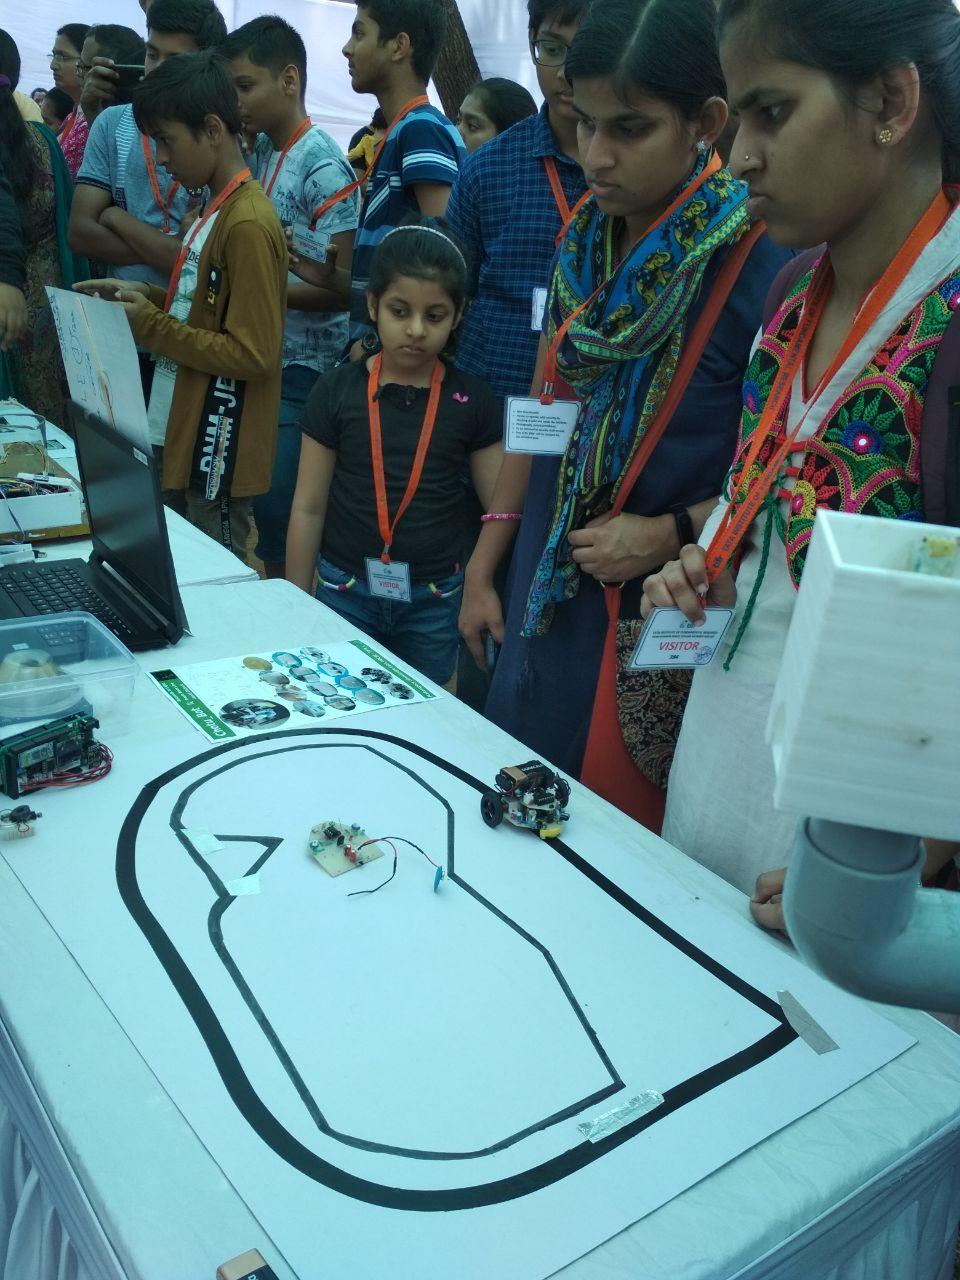
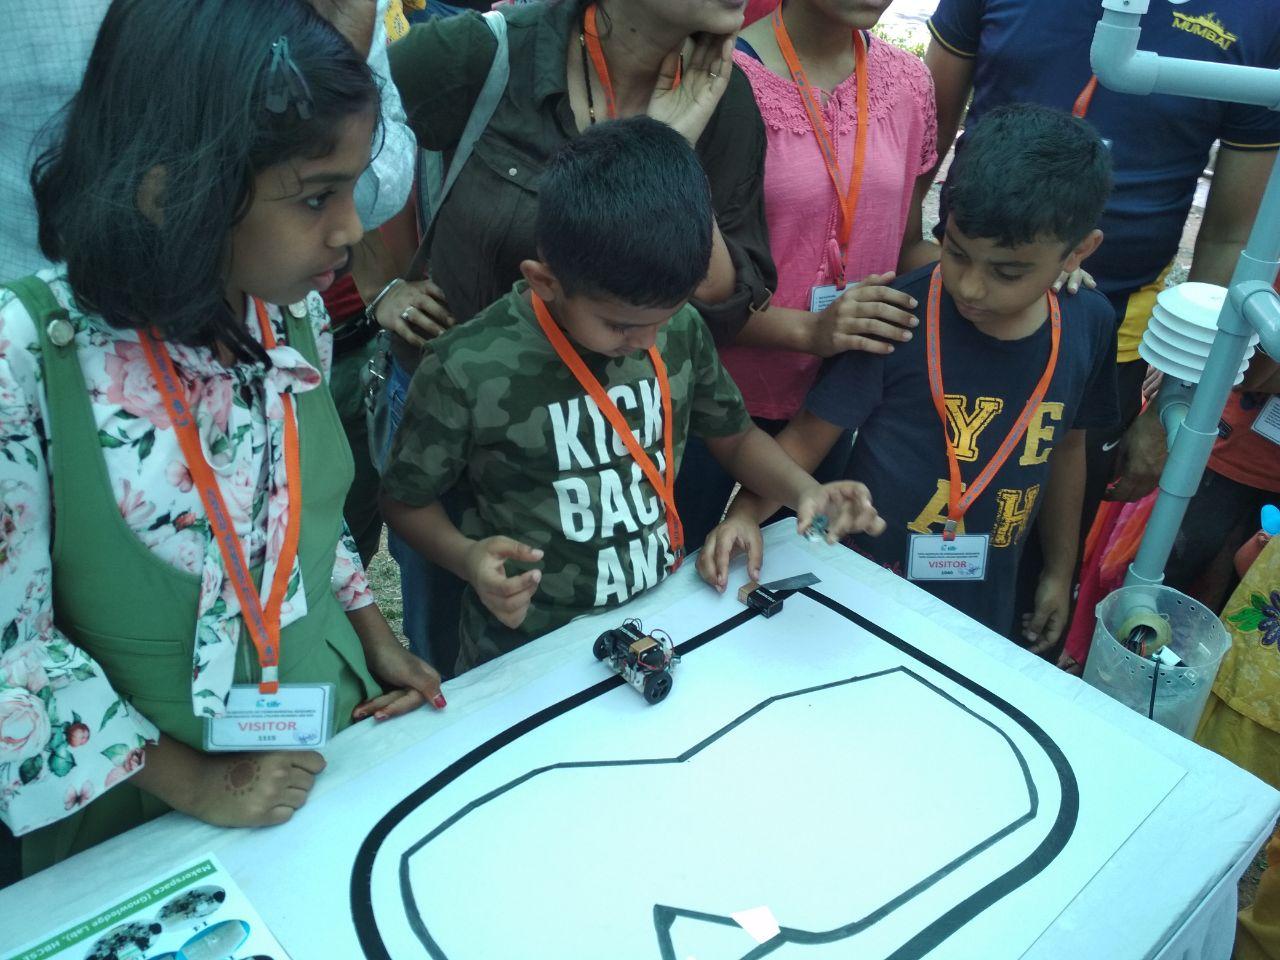
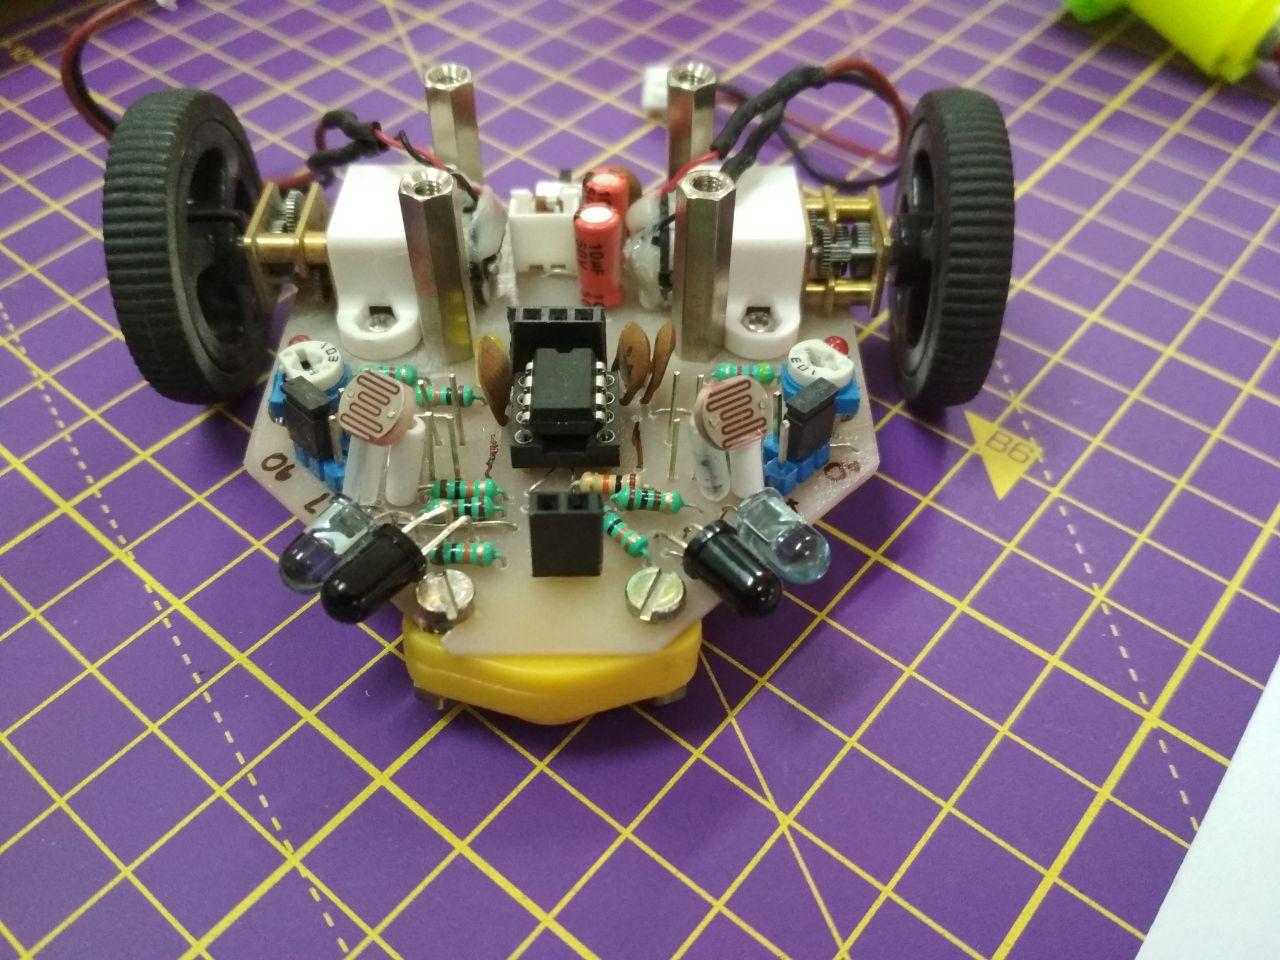
This is a bot which can follow a black line on white surface, avoid/follow light and avoid/follow obstacle but one operation at a time by switching its jumpers (hardware alternative for if-else statement).
And all it does by simply comparing two voltages (a voltage from sensor and a reference voltage from potentiometer which can adjusted to do calibration). There is no Microcontroller involved.
You may want check out its schematic.
Please feel free to ask any query and want to add something.