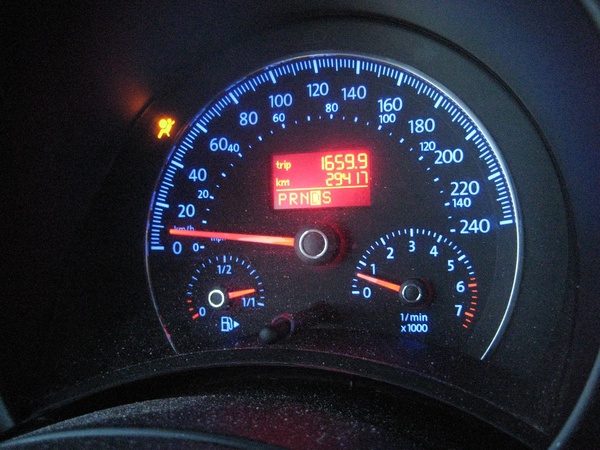
[justify]During the ride of any vehicle (such as Motorcycles, Cars, etc) we are able to know the speed at which that vehicle is moving and also the distance it has covered so far. This speed and distance covered is facilitate by a device on vehicle’s dashboard and we call them Speedometer and Odometer or Speedo-Odo-Meter.[/justify]
[justify]Speedometer measures the speed of the vehicle whereas Odometer measures the distance covered by the vehicle.[/justify]
[justify]Although these two terminology perform the different measurements but both are linked to each other and can be measured with same set of hardware and mechanism.[/justify]
Does Bicycles have Speedo-Odo-Meter?
[justify]When it comes to biycle usually it does not have Speedo-Odo-Meter, infact there is no dashboard on it. but there are cycle computers (Speedo-odo-meters with lot more features) available in the market which can be equipped on the bicycle to measure speed and distance covered by it.[/justify]
[justify]So what do you think how these Cycle computers work to measure speed and distance?[/justify]
[justify]To explore this lets build your own cycle computer and connect it to your Bicycle to measure speed and distance covered.[/justify]
[justify]You can participate and contribute in this development by replying to this post.[/justify]
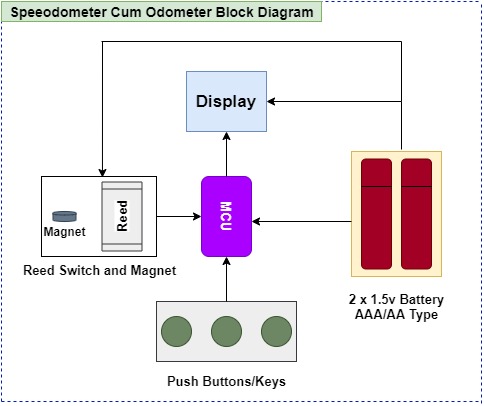
To detect the rotation of the wheel of the bicycle, I am using a reed switch and magnet. Will come to working details of reed switch later.
Few switches are used for configuring/ setting parameters such as wheel diameter, getting distance or speed, etc.
A small Display will show current speed and distance covered. It also help you configure you device.
All these input and output devices are connected to a microcontroller, Here i am using 8-pin, 8-bit ATTINY 85. You can also use Arduino nano or Pro mini for small form factor and also any other microntroller or board.
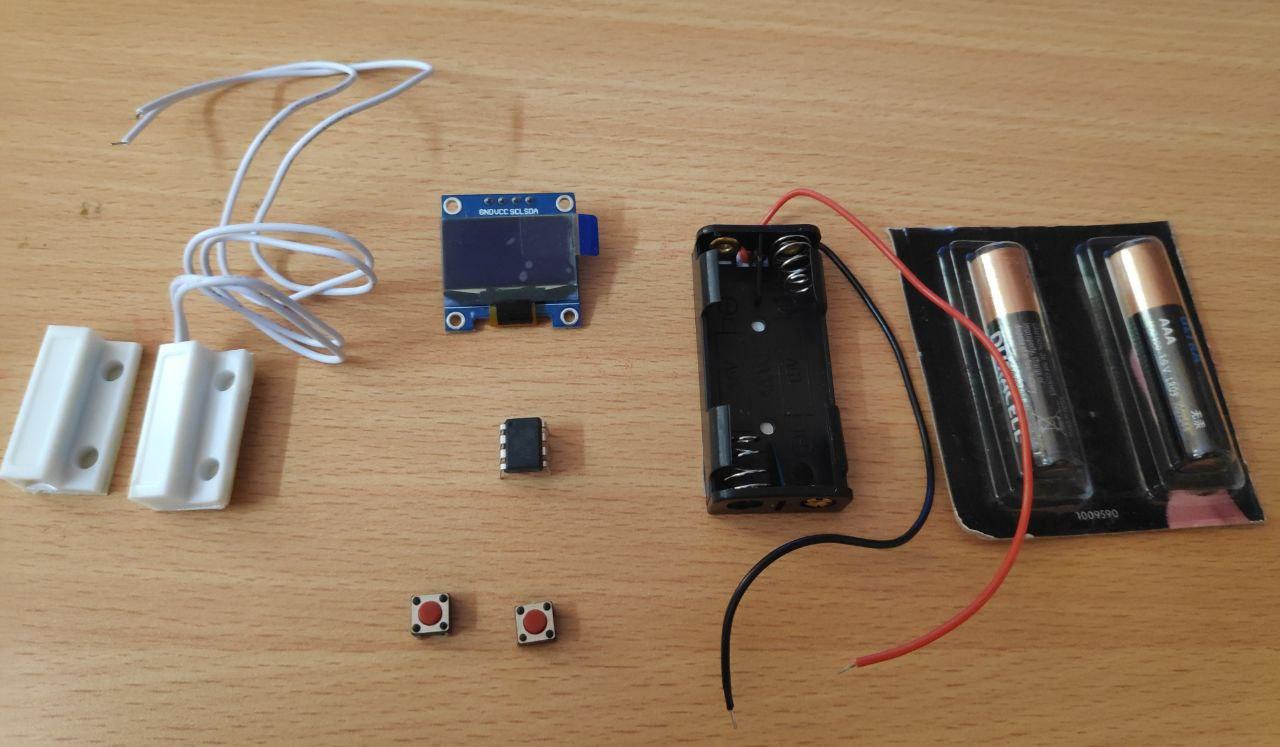
Try to identify the componets as block diagram and feel free to ask any query.
This is all we need for our primary function (to measure speed and distance covered), but you may also think for more features for you cycle computers.
Let us know what all features you want to add to your cycle computer and how you have designed your block diagram.
[justify]Before getting into the speedo-odo-meter development, let us look at different parts of bicycle and understand how and what parts will help us to measure speed and distance.[/justify]
So try to identify parts on your bicycle and mention any missed part in the above image? We love to hear from you.
[justify]This made me know the parts of my bicycle and interestingly from now i am calling saddle to my bicycle seat.[/justify]
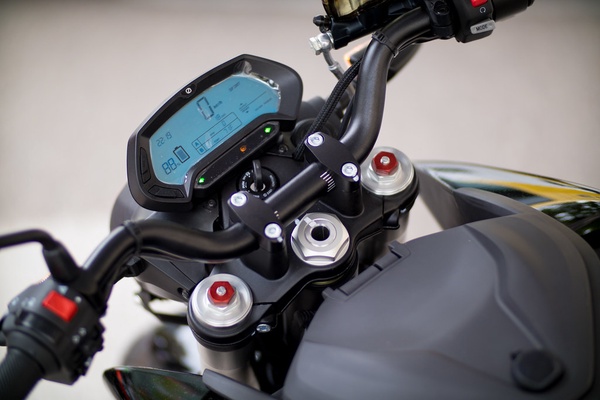
[justify]Okay for speedo-odo-meter my interest would be more towards the handlebar and front wheel parts. Because i will be installing my sensor and magnet to the front wheel assembly and my device with display on handlebar.[/justify]
[justify] But wait, why should i choose the front wheel for calculating the speed and distance covered but not the rear one or is it not the case? Help me to understand this by replying to this post.[/justify]
Ashish, as a cyclist, maybe I can help answer some of your queries.
Technically, the magnet + reed switch (or hall sensor) can be installed on either wheel.
If the speedometer is of the single sensor type (only speed measurement), it is usually fitted on the front fork for convenience.
If the speedometer also includes a second sensor (for cadence measurement), then the speed sensor is usually mounted on the rear wheel as it makes wiring easier. Both sensors are mounted on the non-drive side (left side) chain stay, with one magnet attached to a rear wheel spoke, and another magnet attached to the left side crank arm.
If the speedometer is wireless (sensors communicate with head unit via - not too sure - but some form of radio or bluetooth link), then the speed sensor goes on the front fork, and cadence on the left chain stay.
Also, remember that your device will need some kind of internal look up table for selecting the correct wheel diameter based on tyre size.
For example, for MTB bikes, the wheel size is usually 26" (or 29" for 29’ers). However the tyre width can range from 1.5" to 2.5", and this changes the overall diameter of the complete wheel.
Same applies for road bikes, with the wheels usually being 700mm, and widths ranging from 18mm to 35mm.
Commercial speedometers will have a SETUP function for selecting the precise wheel size.
Wheel helps us to travel from one point to another by rotating on different terrain (on-road, off-road). The two wheels of the bicycle also called as wheel set, the front and rear wheel are fit into the fork and frame respectively to the axle attached on the dropouts.
Well, you can read about bicycle wheels in more details. Here is the link: Bicycle Wheel.
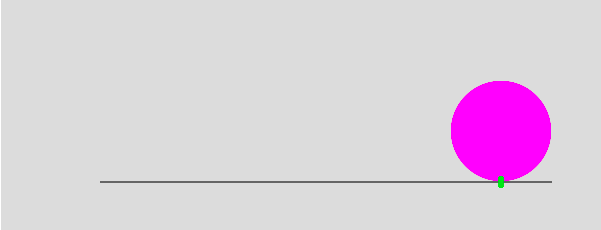
Other than Bicycles or vehicles, one can also play with wheels, just look at this image.
In the above image the pink color wheel was stationary at plane surface represented by grey line and the green color mark on plane surface represent the initial contact of wheel with respect to it center of axis of wheel.
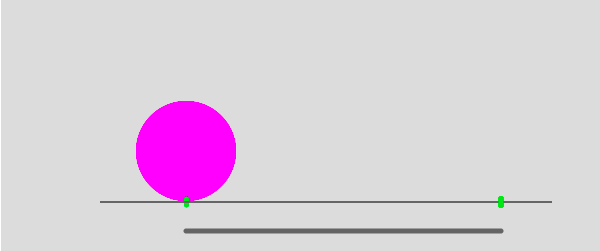
In this above image we rotate the wheel in such a manner that green point on the wheel come again to the plane surface and thus completing the one rotation.
Now we have two green mark on this plane surface.
So what do you think what is this distance between these two green mark?
In fact does it telling the distance covered in one rotation?
As @Anool also helped us in great details by letting us know range of wheel diameters of different bicycle, the different wheel diameter will cover different distance in one rotation.
So let us know what is the diameter of your bicycle wheel and try to find out the distance covered by it in one rotation.
I found an interesting website and would like to share with you, where we can simulate our circuit.
That is we can build circuit, without having components with us.
1.You need to register/sign up to the website.
2. In circuits tab, you can create 3D designs.