Human body is a mixed bag of microbial species. Along with bacteria and viruses that specifically infect bacteria (aka bacteriophage), we also harbor other single-celled organisms called archaea, as well as fungi, and viruses that infect human cells. Although popular belief suggests that microbes or “germs” are dangerous, this is not entirely true. While “ugly” microbes are harmful, “bad” microbes are dangerous only under specific environmental conditions, and “good” microbes are useful to our body. The “good” microbes help us to digest food, fight against ugly/bad microbes, provide nutrients to our cells, and program our immune system to work optimally under external attacks. Disturbances in the microbial communities found in human bodies can negatively impact health.
Microbes are found both inside and outside of human body and different parts of the body are associated with distinct microbial communities. To explore the different microbial communities associated with human body parts we will be
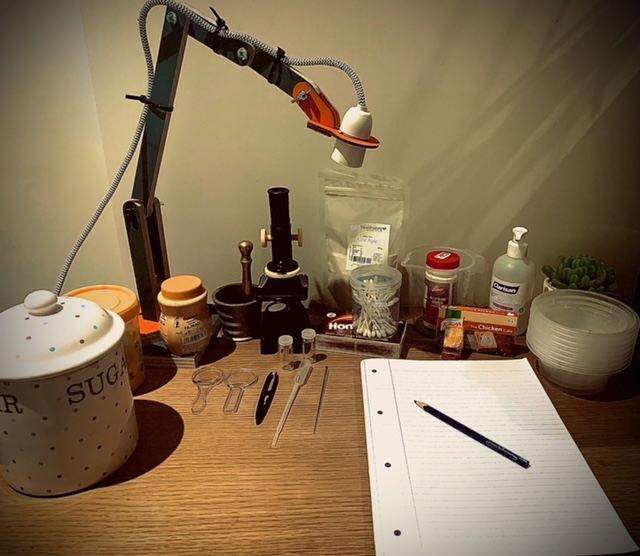
a. Culturing microbes from different body parts on gelatin-based solid medium
b. Compare the morphology and color of those microbes that grew on gelatin-based medium.
c. Visualize cellular morphology of selected microorganisms under Foldoscope (optional) or homemade microscope.
Interesting!
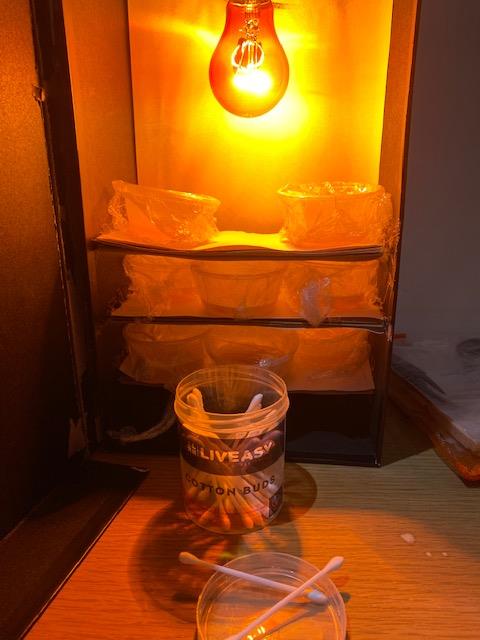
Can we get more details of this homemade incubator from your homelab viz. how you made it, how much does it cost and so on?
Also, where is your homelab situated? and do you have any collaborators?
Hi Drishtan,
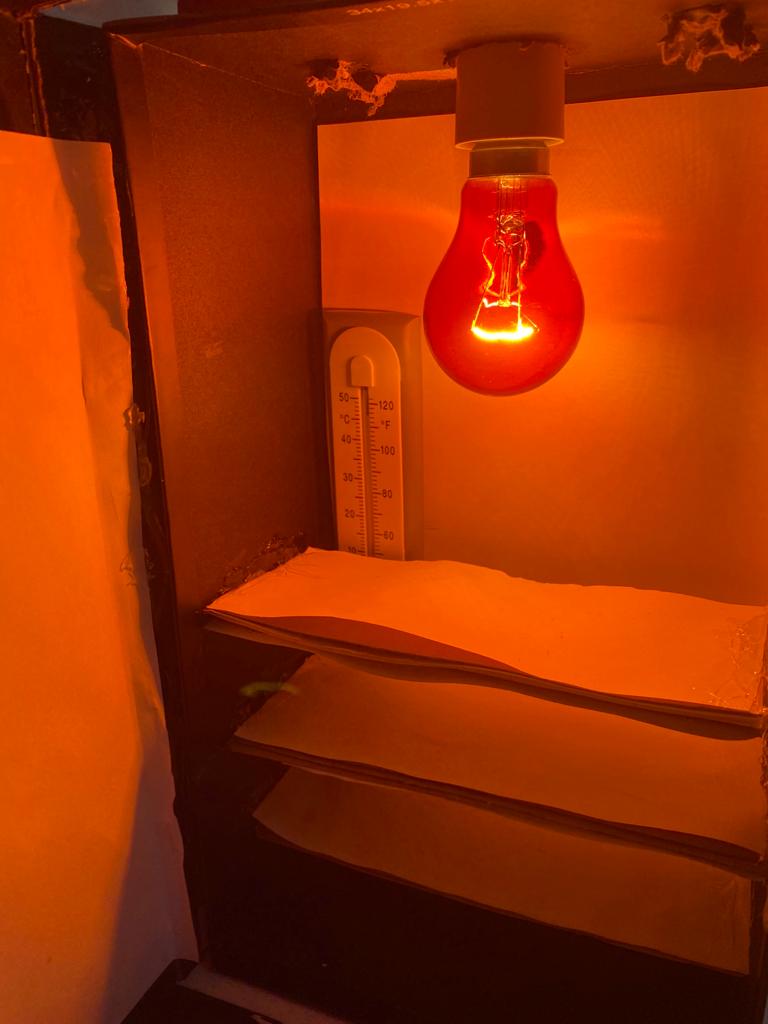
The homemade incubator is made out of cardboard and is aimed to be kept at a constant temperature of 37C degrees using a 60 watts light bulb. There are two 1cm holes at the top of the box to regulate the temperature. There is also a thermometer inside the box to make sure the temperature is near 37C. The total cost is around £5; the cost of the light bulb and the thermometer.
The homelab is situated in my house on a desk and besides a mentor, no offical collaborators apart from the assistance of my younger sister
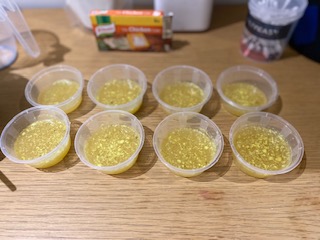
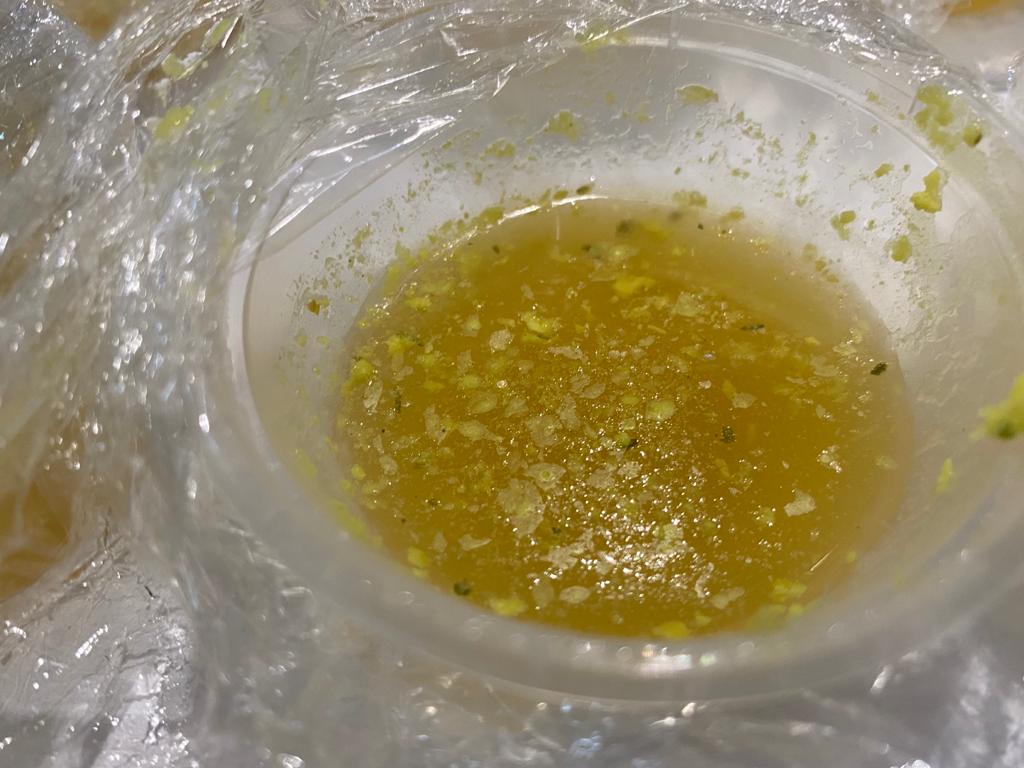
Unfortunately, the agar was not activated, therefore it did not set. Moreover, I used 2 chicken stocks but they did not dissolve fully, leaving chunks in the solution.
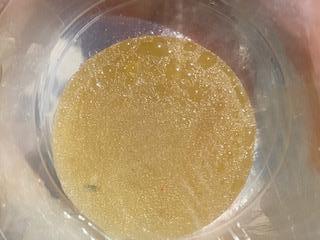
Now I have used one chicken stock cube and I have now activated the agar by boiling it in water (simmering) rather than stirring it in boiling water
How are the holes helping to maintain the temperature? Also, won’t the holes disrupt the aseptic theme of the incubator (or simply, won’t they add contamination to your plates)?
Great! These are some of the strengths of a homelab that, it requires very little space as compared to any institution-based lab and also, our family members get to know as well as get involved in carrying out the sophisticated lab techniques in jugaad ways at home.
How did you figure out that you need to use 2 tablespoons of agar powder in just 200mL water?
One tbsp is around 15grams. Don’t you think 30grams of agar is alot in terms of the volume of water used?
And probably that is the reason why the agar didn’t set?
And I am curious to know, what are chicken stocks?
The holes are placed at the top of the incubator to help release some heat, as when we tested the incubator ,before placing the samples in, we found out that the top shelf’s average temp was over 45C degrees. This was not the optimum temp (37C), so we made holes to let the heat out. In our second test it seemed to work.
The holes would not add any contamination as my plates are covered with clingfilm.
Prior to starting the experiment, I watched a video on how to make homemade petri dishes to culture bacteria. The video had used the same measurements I had used. The reason it did not work the first time was because I had not activated the agar agar.
Chicken stocks are used in cooking to make stews, sauces or soups. We used it because it has lots of nutrients which are important for bacteria to grow.
F is Female, M is Male
Hand F: Burnt - some of the agar agar have evaporated due to the heat leaving just a small circle of jelly in the middle. The top layer is burnt.
Hand M: Burnt - some of the agar agar have evaporated due to the heat leaving just a small circle of jelly in the middle. The top layer is burnt.
Mouth F: Bacteria - white streaks from top to middle
Mouth M: White spots on the corner
BellyButton F: White spots all across the surface
BellyButton M: White spots all across the surface
Can you share the link to the video?
How do you activate the agar powder? While preparing media for culturing of microbes, we can suspend the agar powder in boiling water. Initially, there’d be turbidity but as you keep stirring it with a constant flame, the solution of water+agar will become clear. This is from my experience.

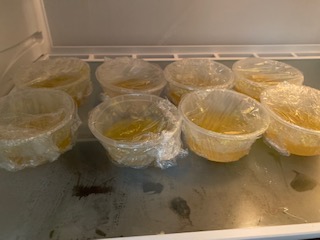
 Female hand
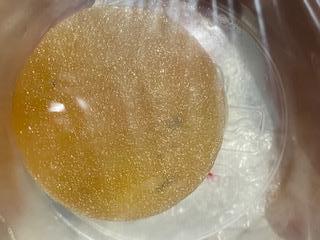 Male hand
 Female mouth
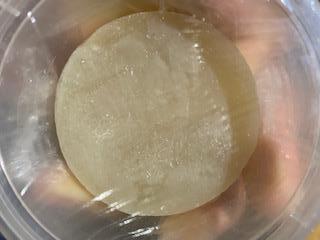 Male mouth
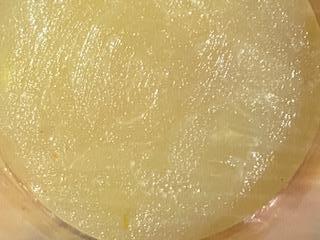 Female Belly-button